Earth Day Special: Handmade Plantable Seed Paper Tutorial
Few years ago, I received a birthday card from my friend.
‘Plant after reading,’ the card said. Unexpected, right?!
And I did…In about two weeks I noticed tiny stems started coming up and in 2 months I had a flowerpot blooming with marigolds.

That postcard was made of plantable seed paper. Then I was fascinated and thought what a great idea. Ever since I have always wanted to recreate my own version of seed paper and recently I did.
Making homemade paper is actually very fun and easy project, maybe a bit messy, though it’s a great way to recycle old newspapers, mail, or other paper materials you have piling up around your home.
For plantable seed paper experiment I didn’t buy any special equipment, just used what was available.
So here you go, my 2 ways of making magi plantable seed paper.
Materials and equipment, I’ve used:
Wastepaper. Printer paper, junk mail, and construction paper are great choices. Avoid glossy paper such as magazines.
Water
Blender
Plastic Cheese container
Cheese cloth
An old plastic storage bin
Cookie cutter
Towels or thick pieces of felt
Tiny seeds
Food coloring, turmeric
Dry flowers or leaves
Option 1 – Using cookie cutter
Shred the paper into small pieces and soak it in warm water for about an hour until the paper is mushy.


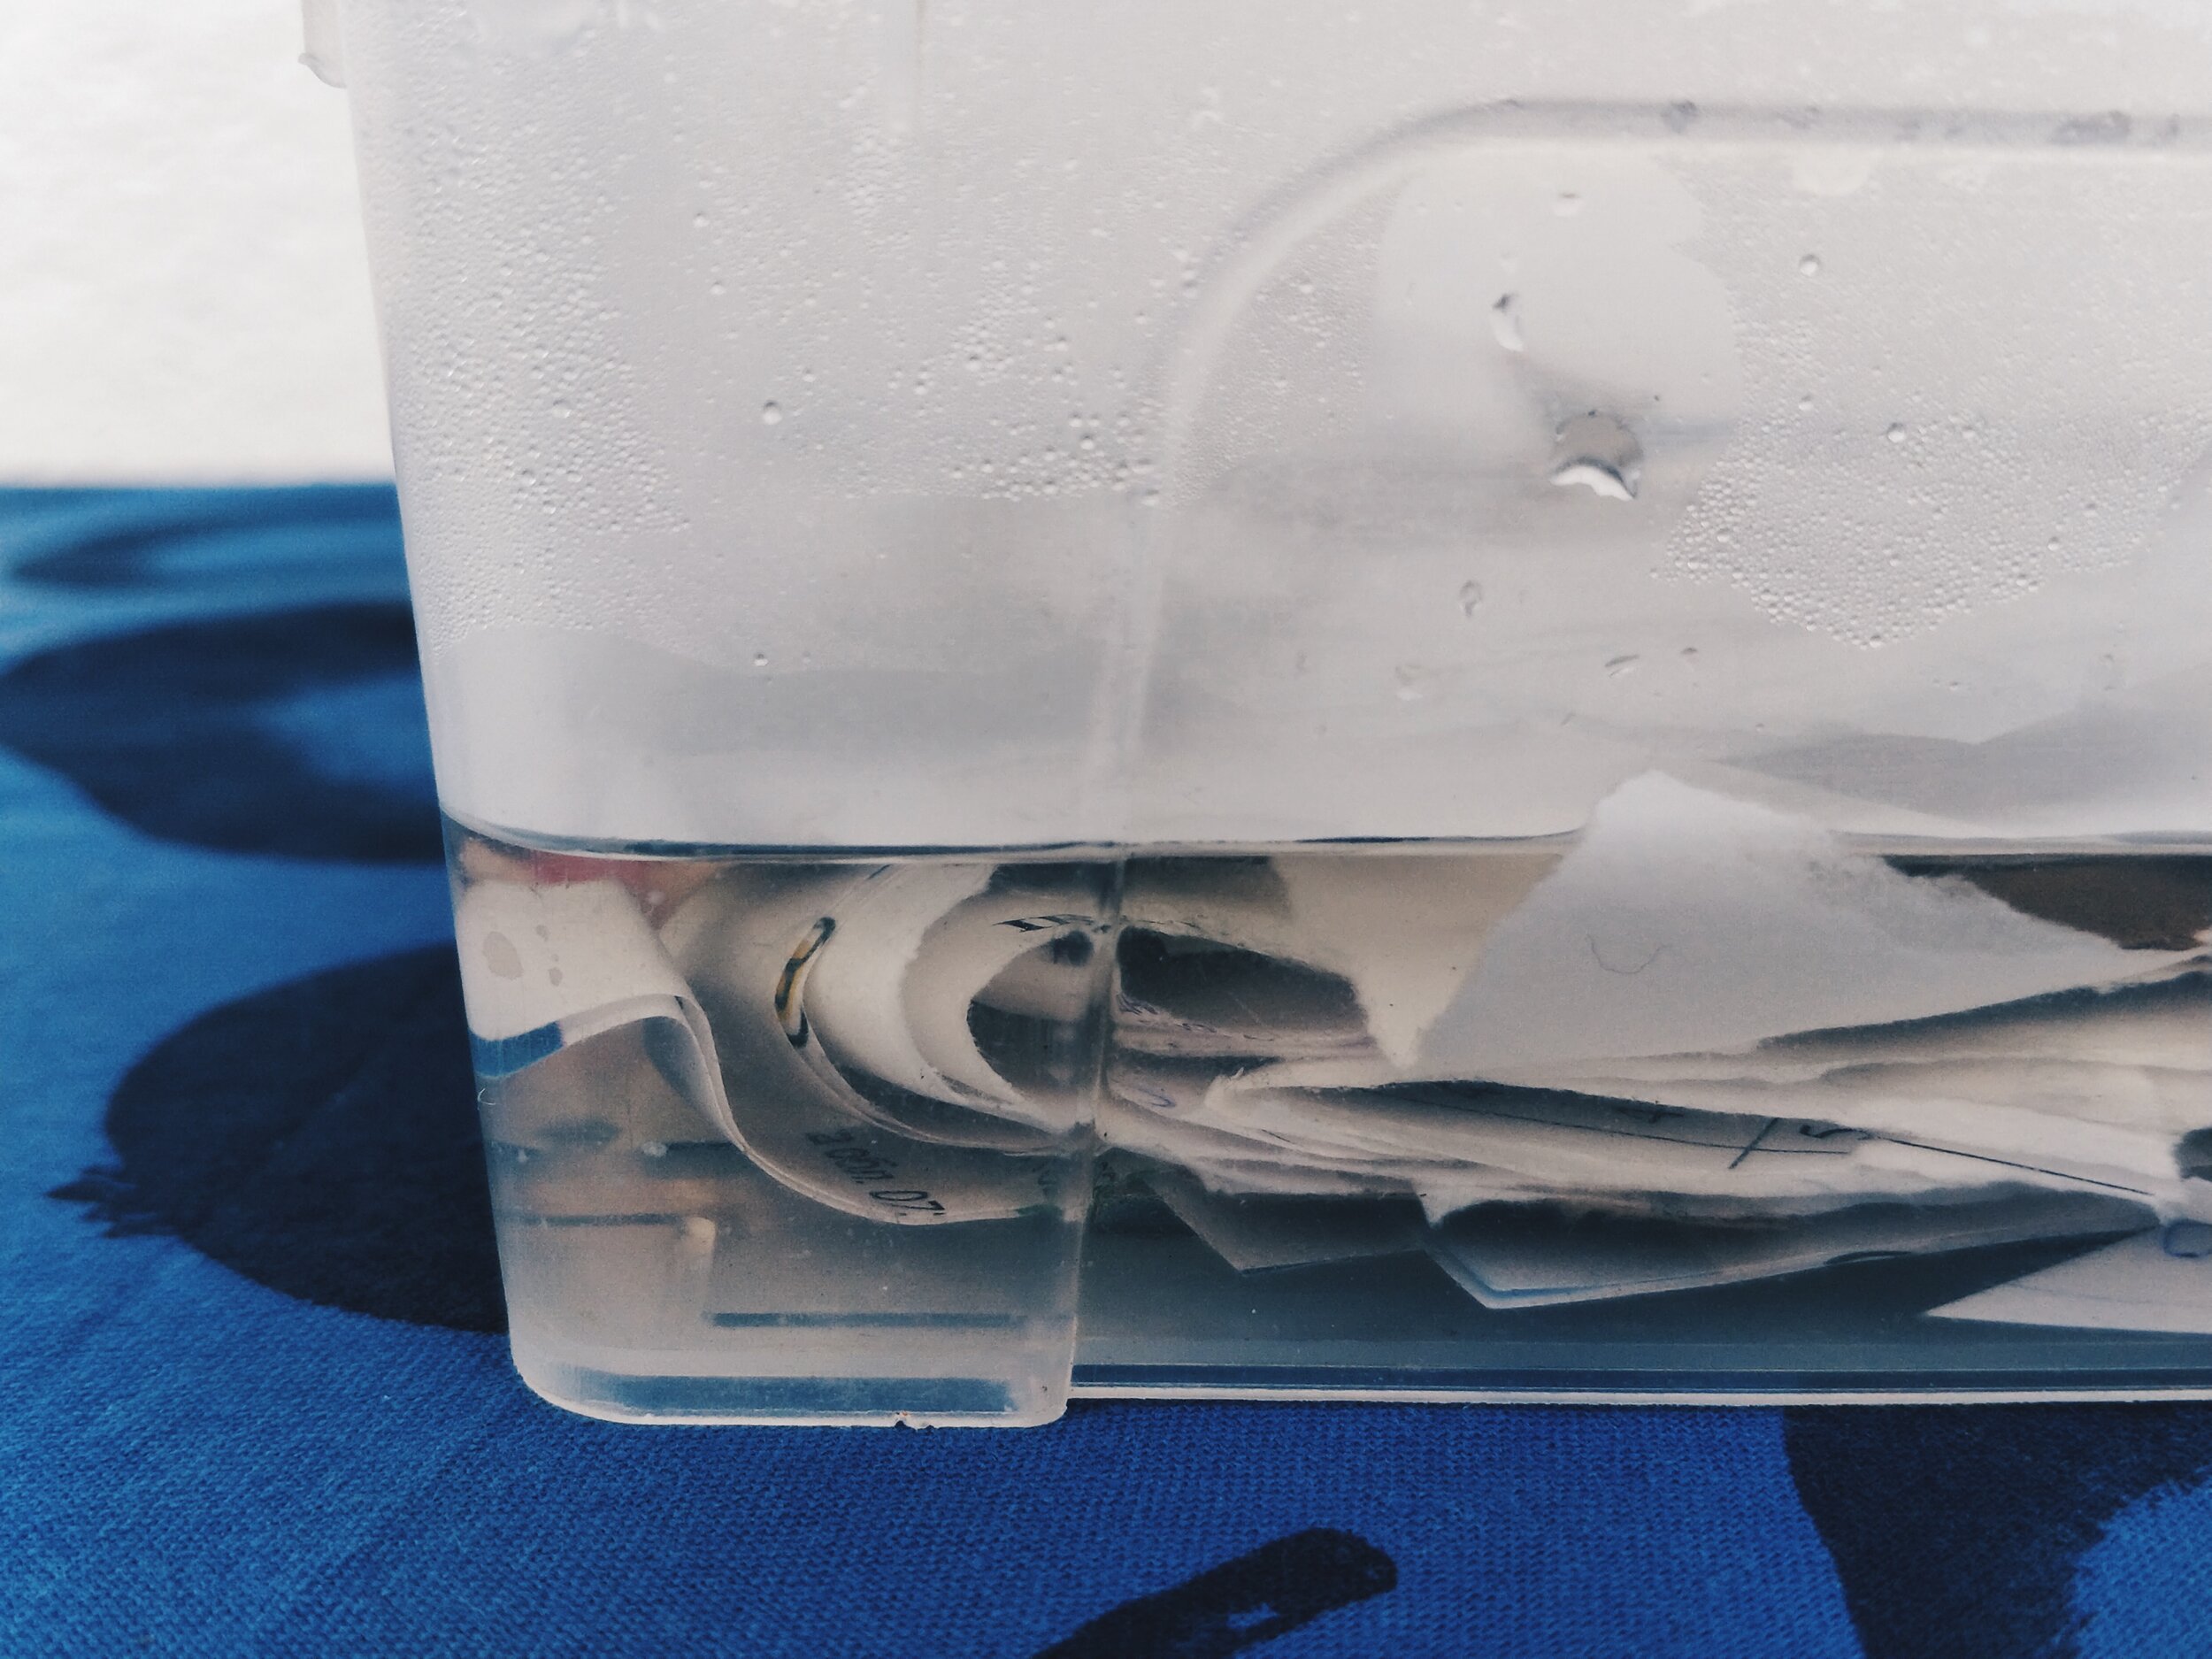

When saturated with water blend until it reaches a thick, pulpy consistency.


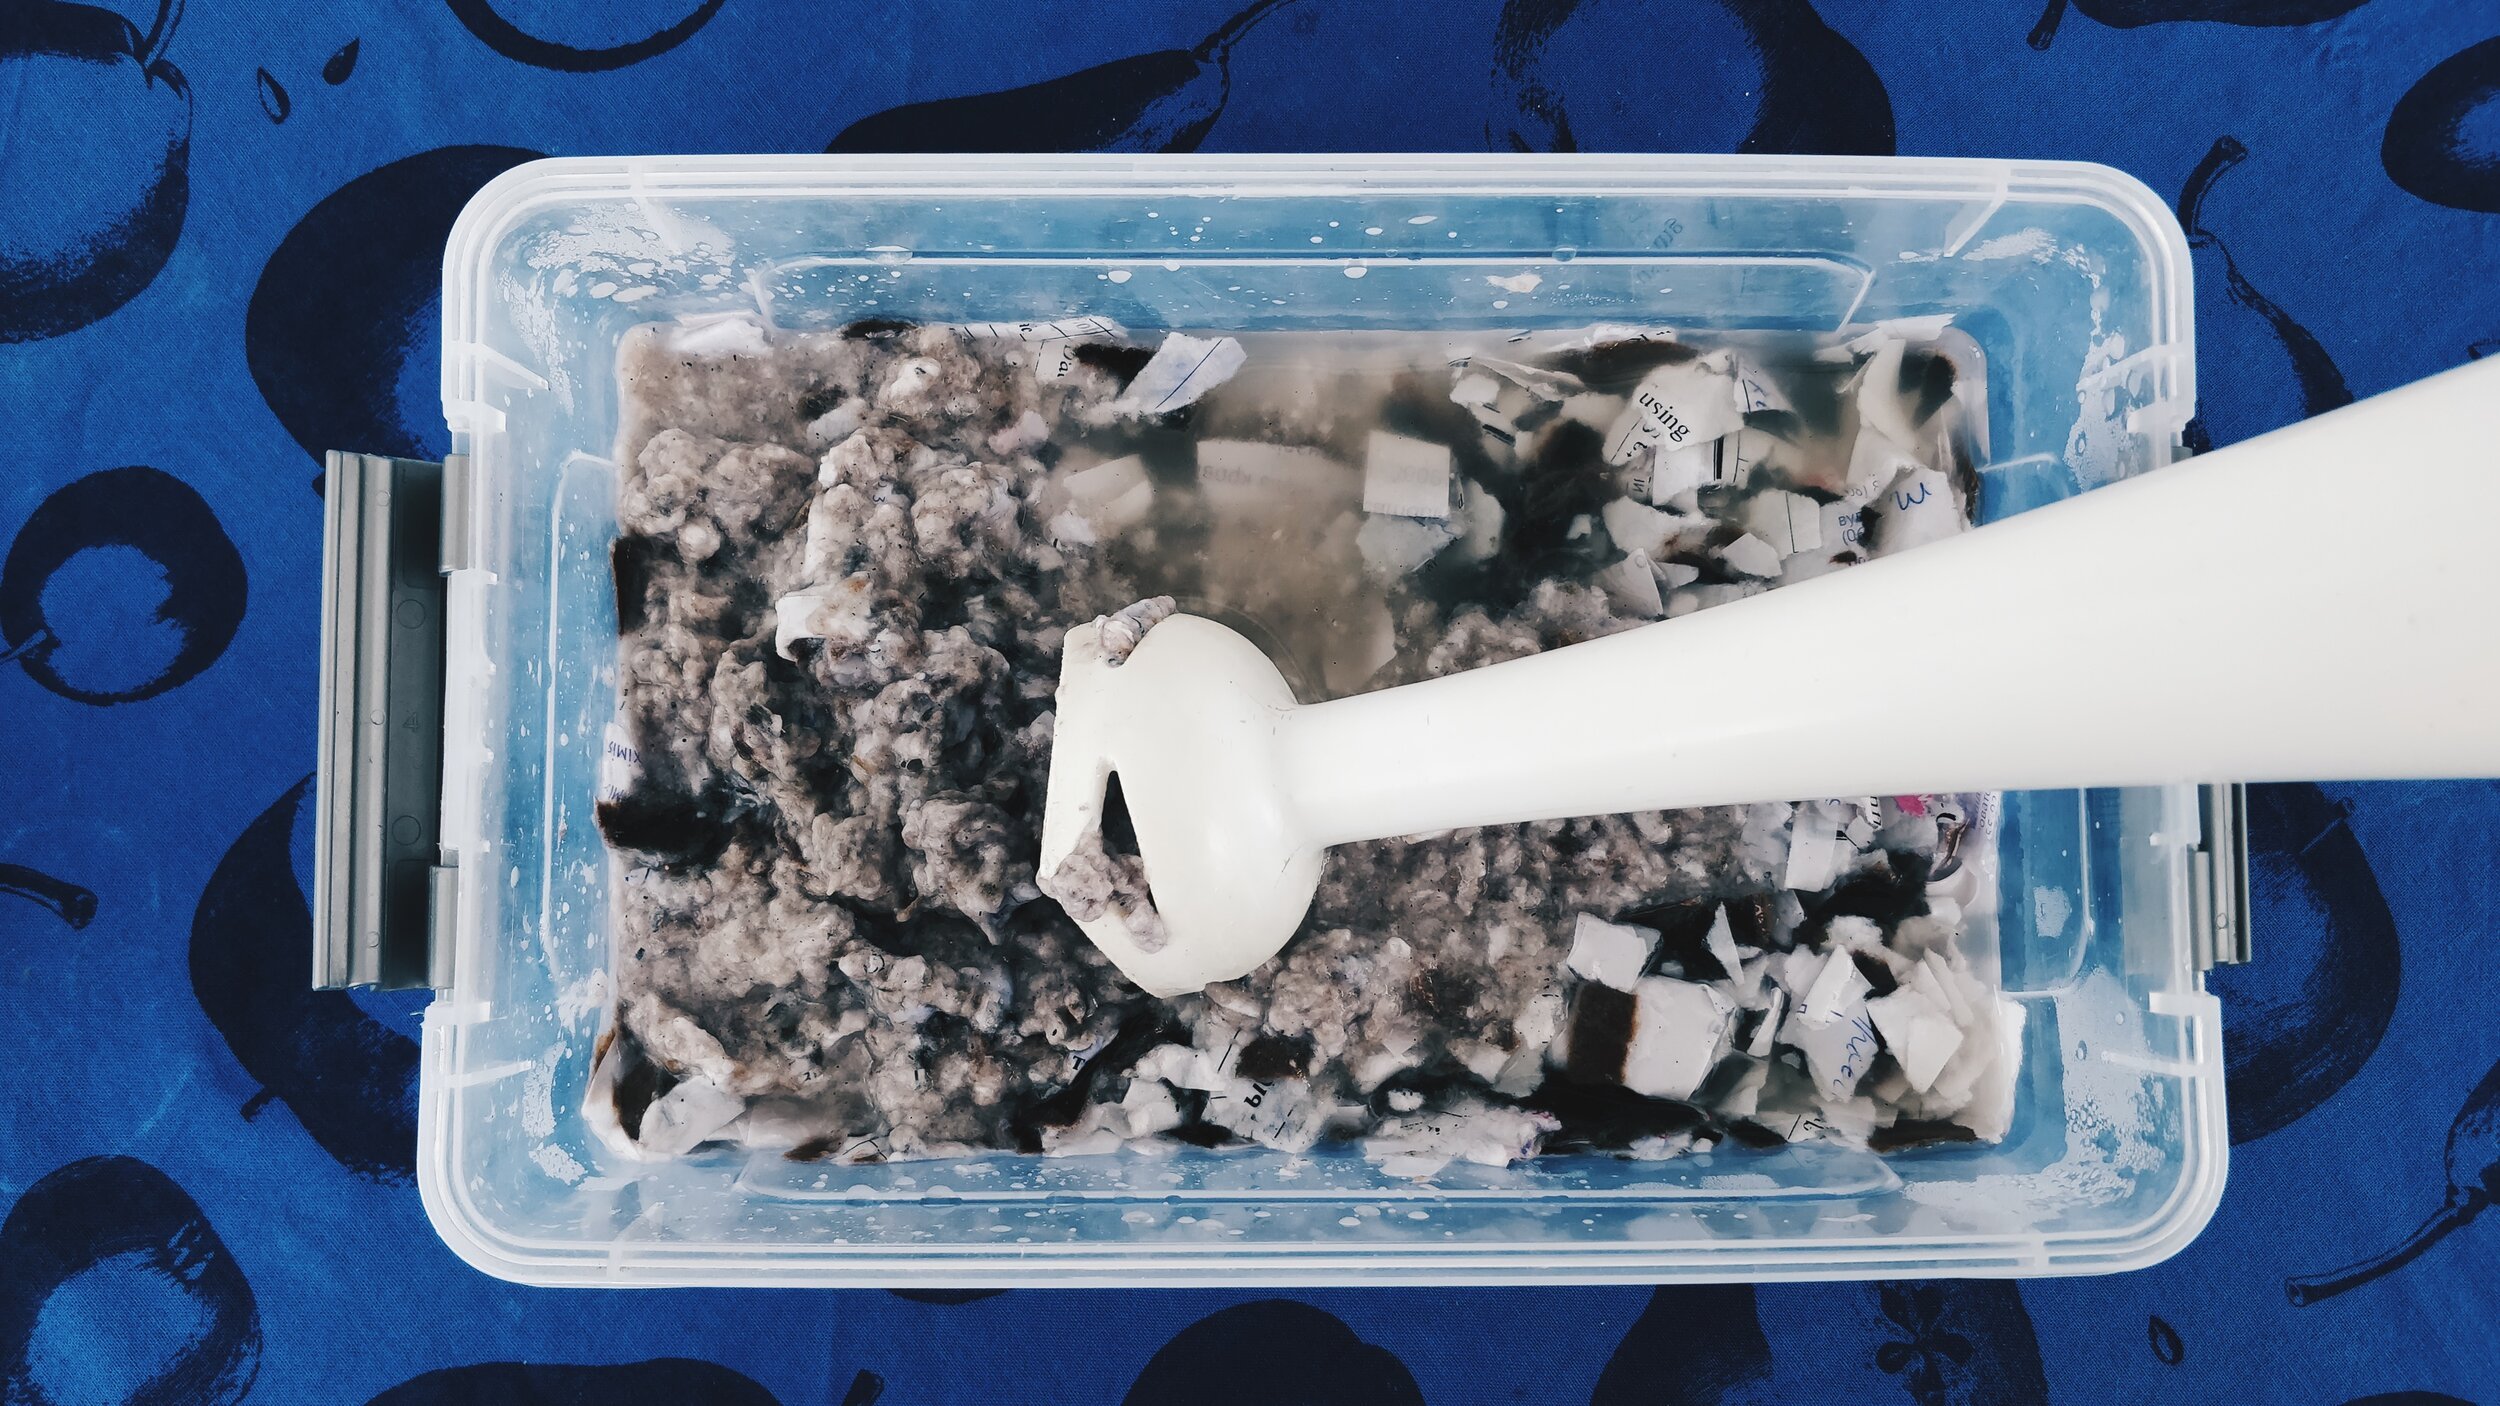
Drain excess water but make sure the pulp is not too dry.
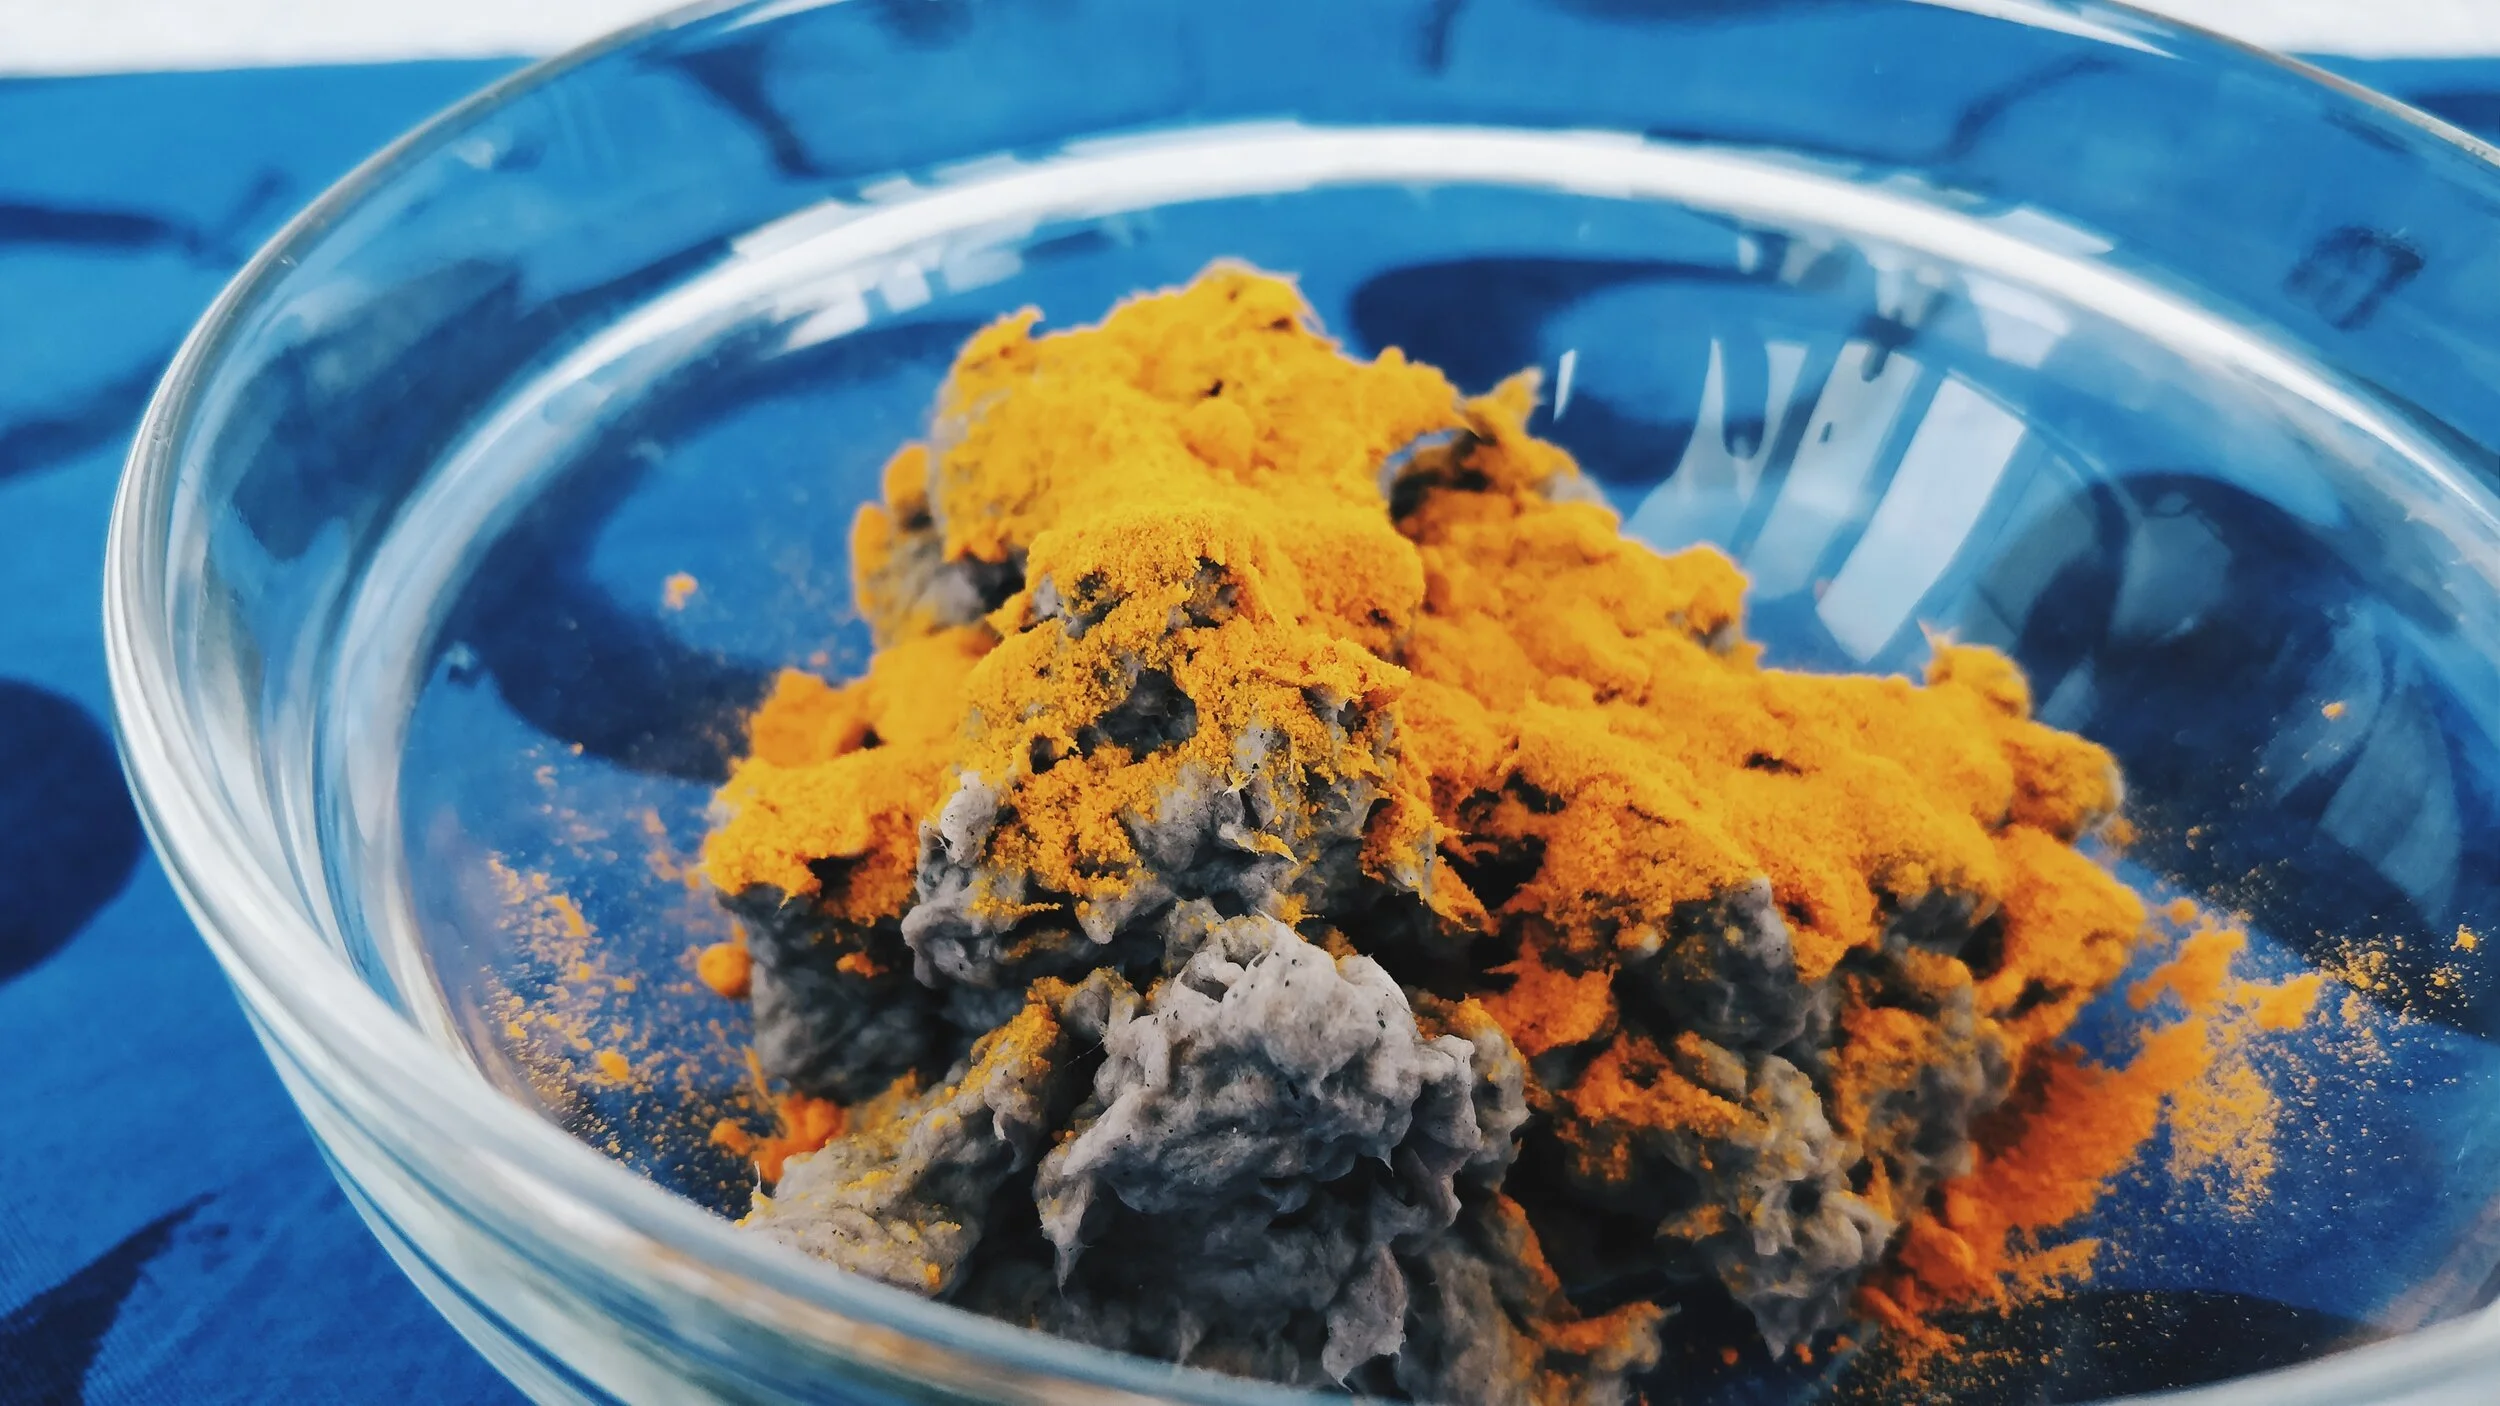
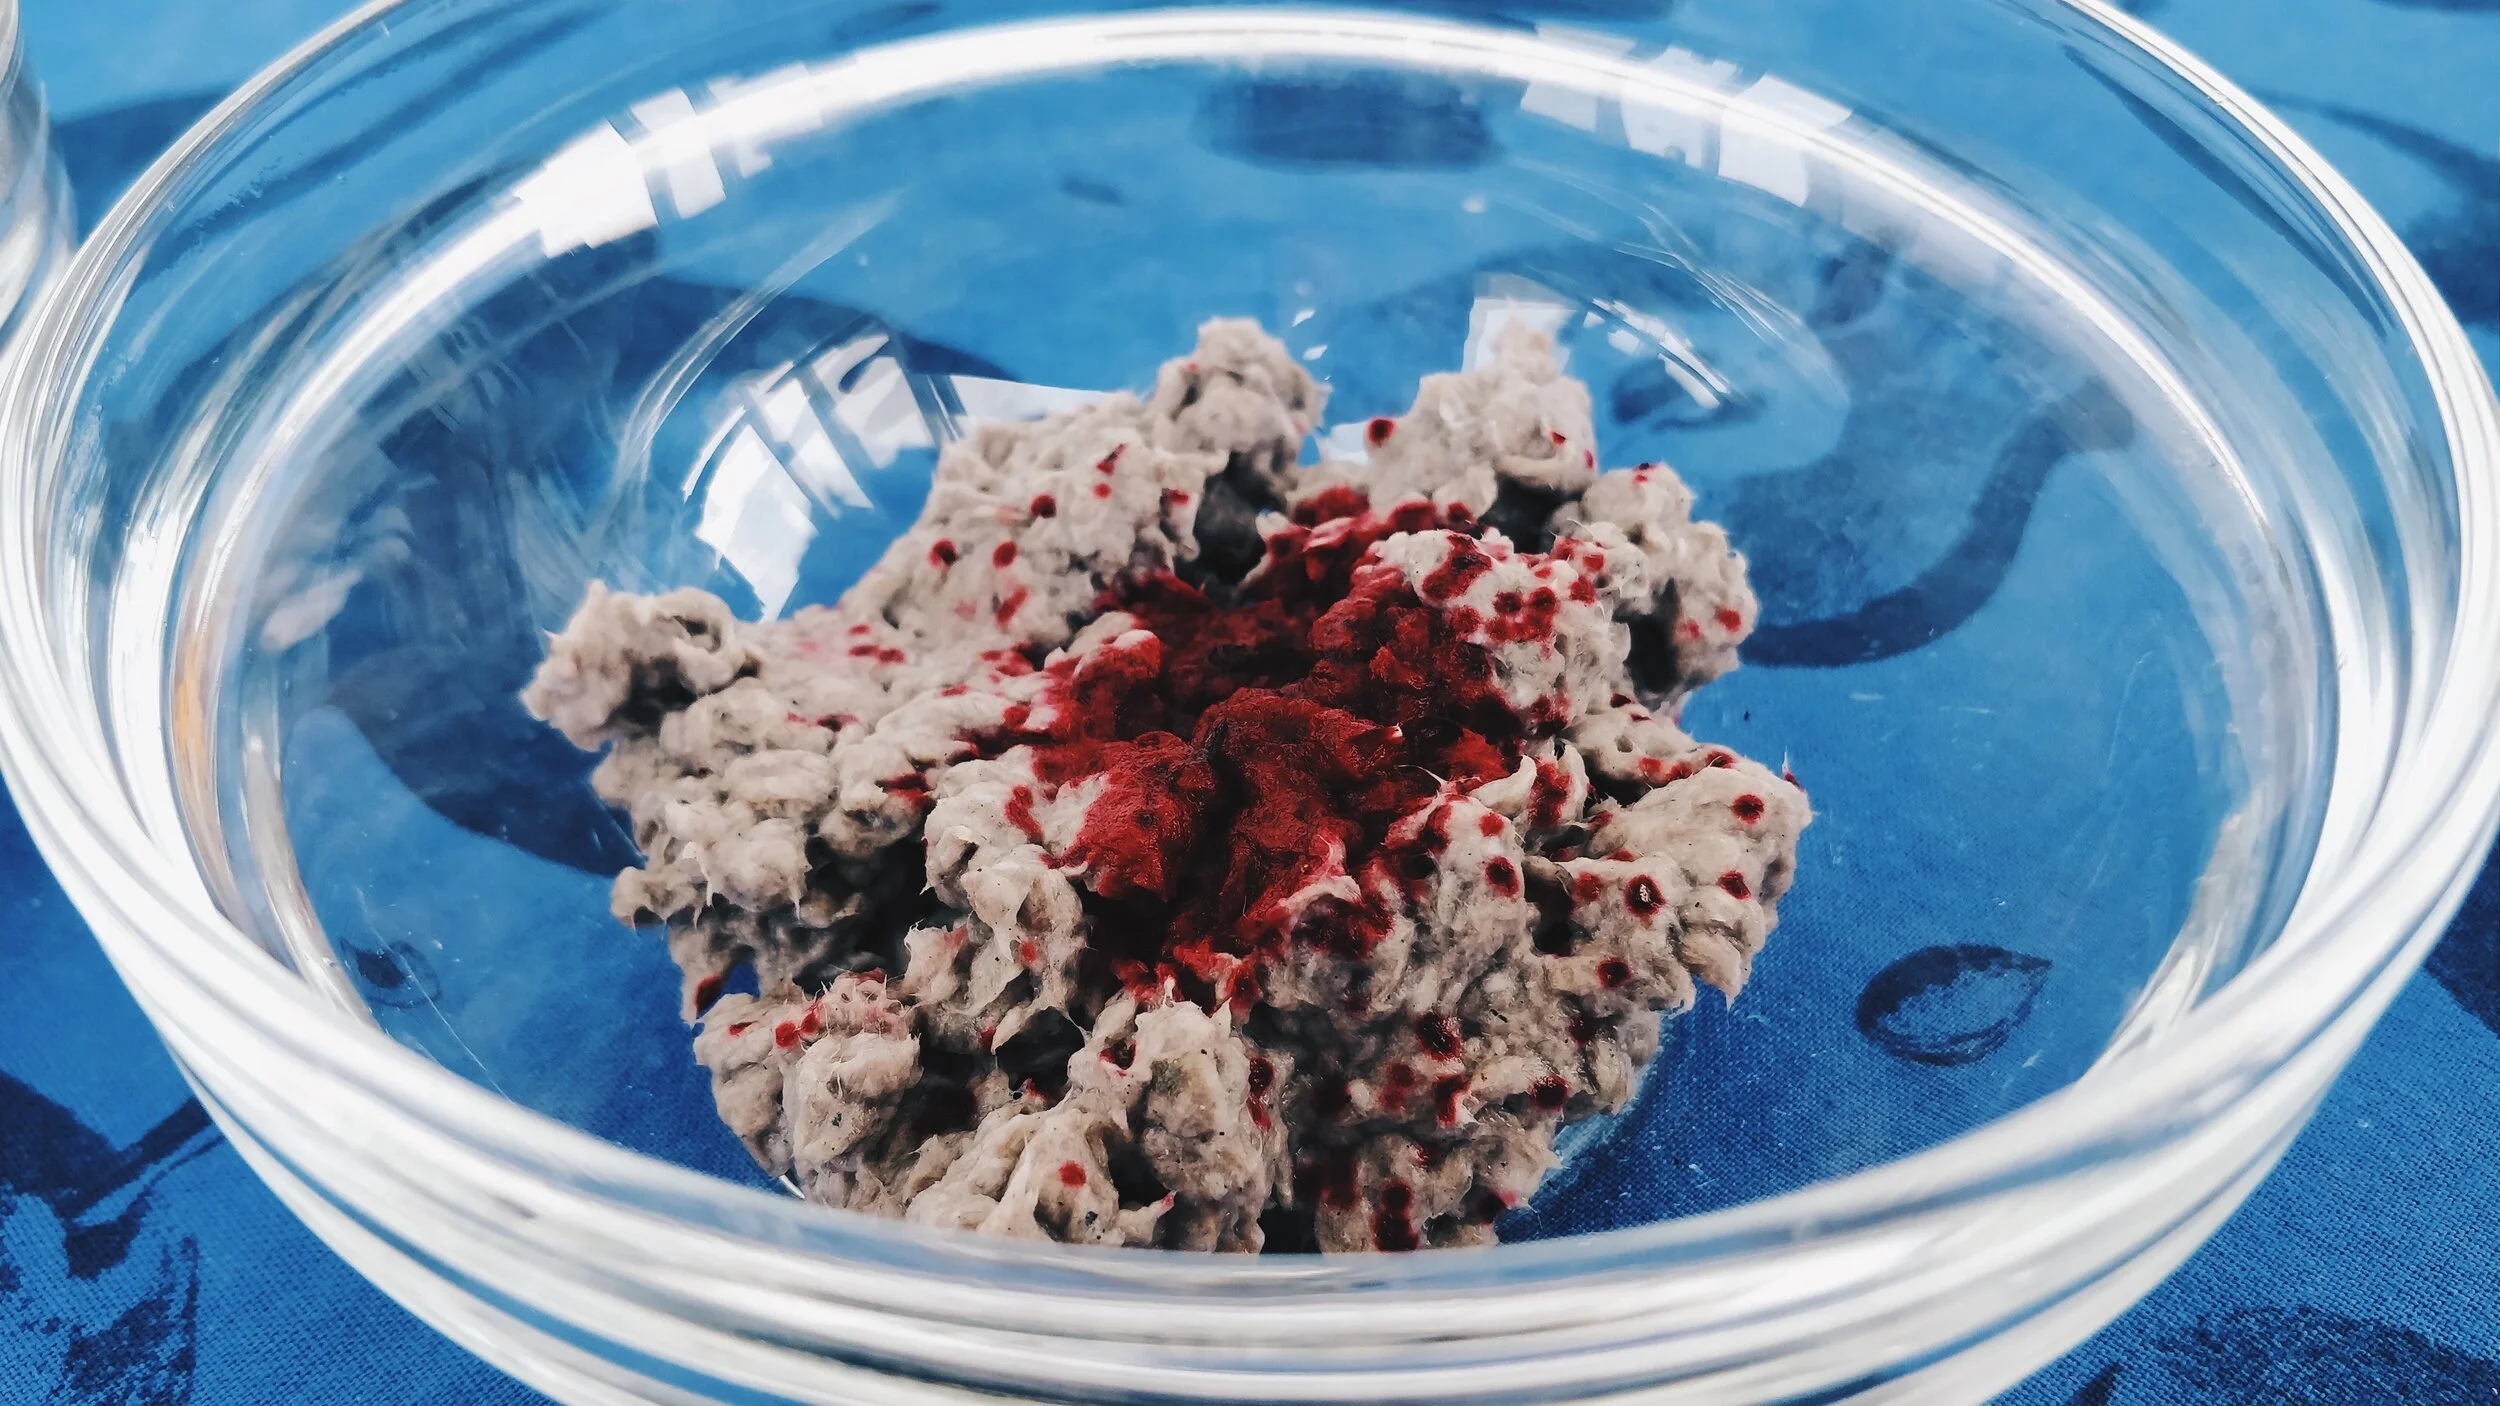
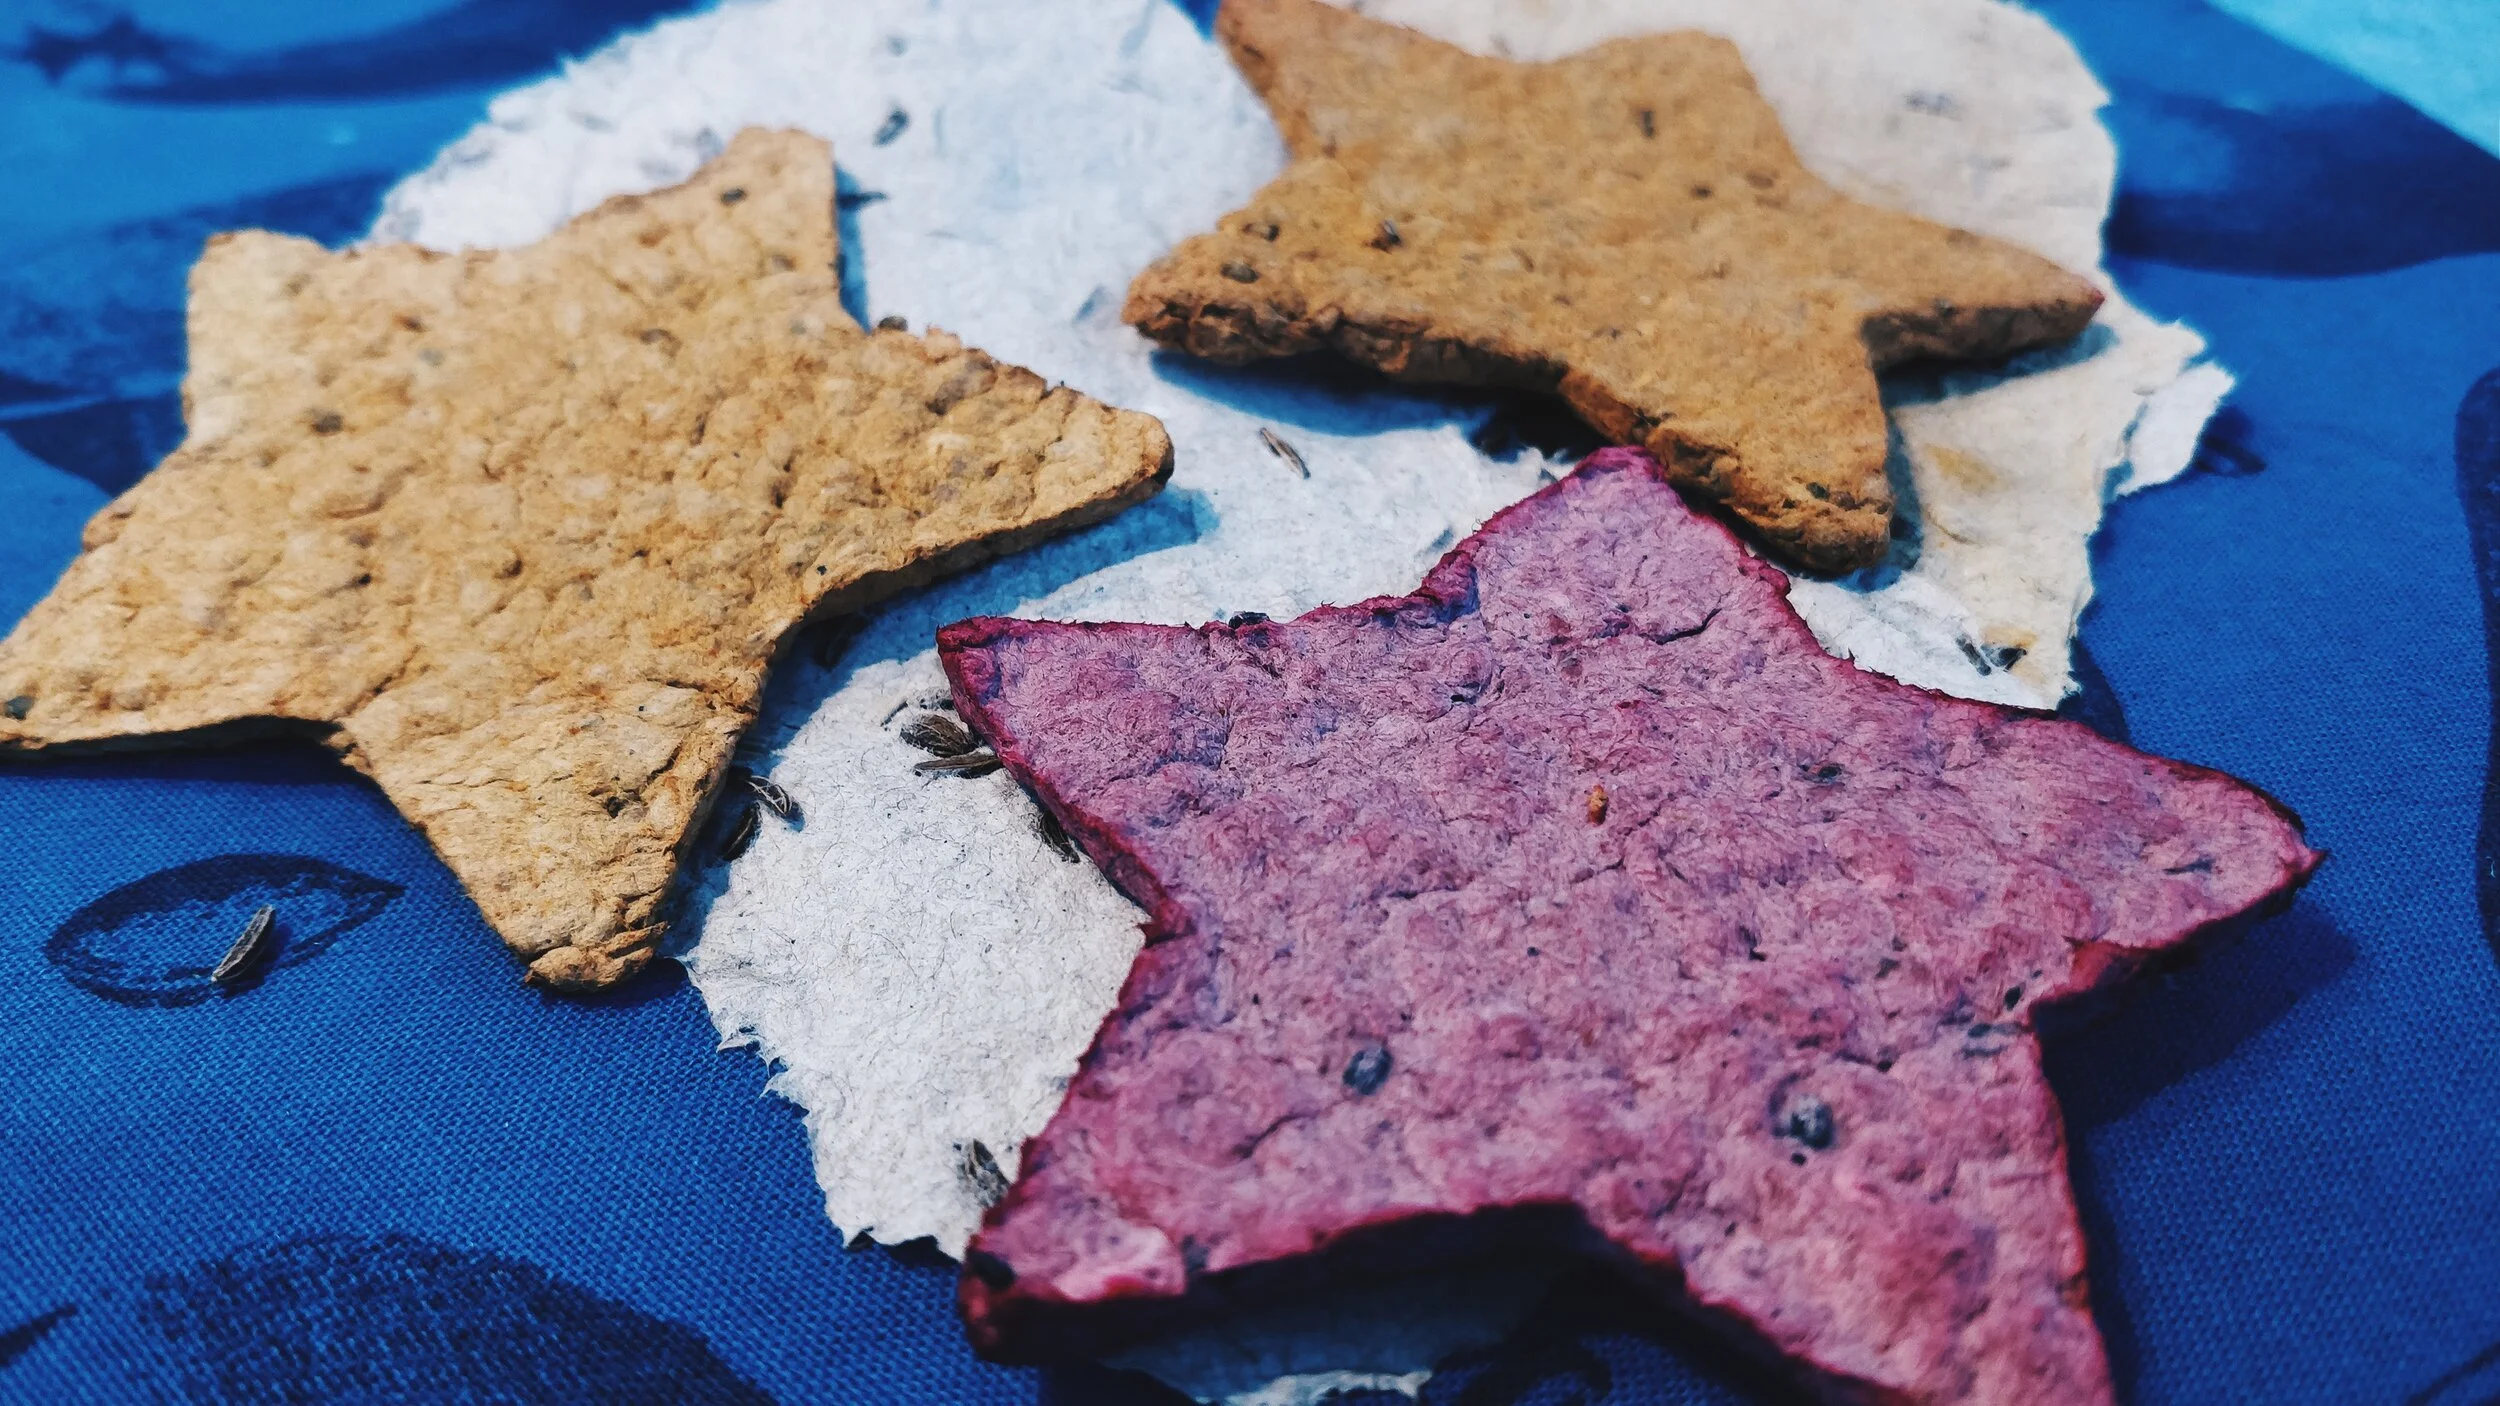
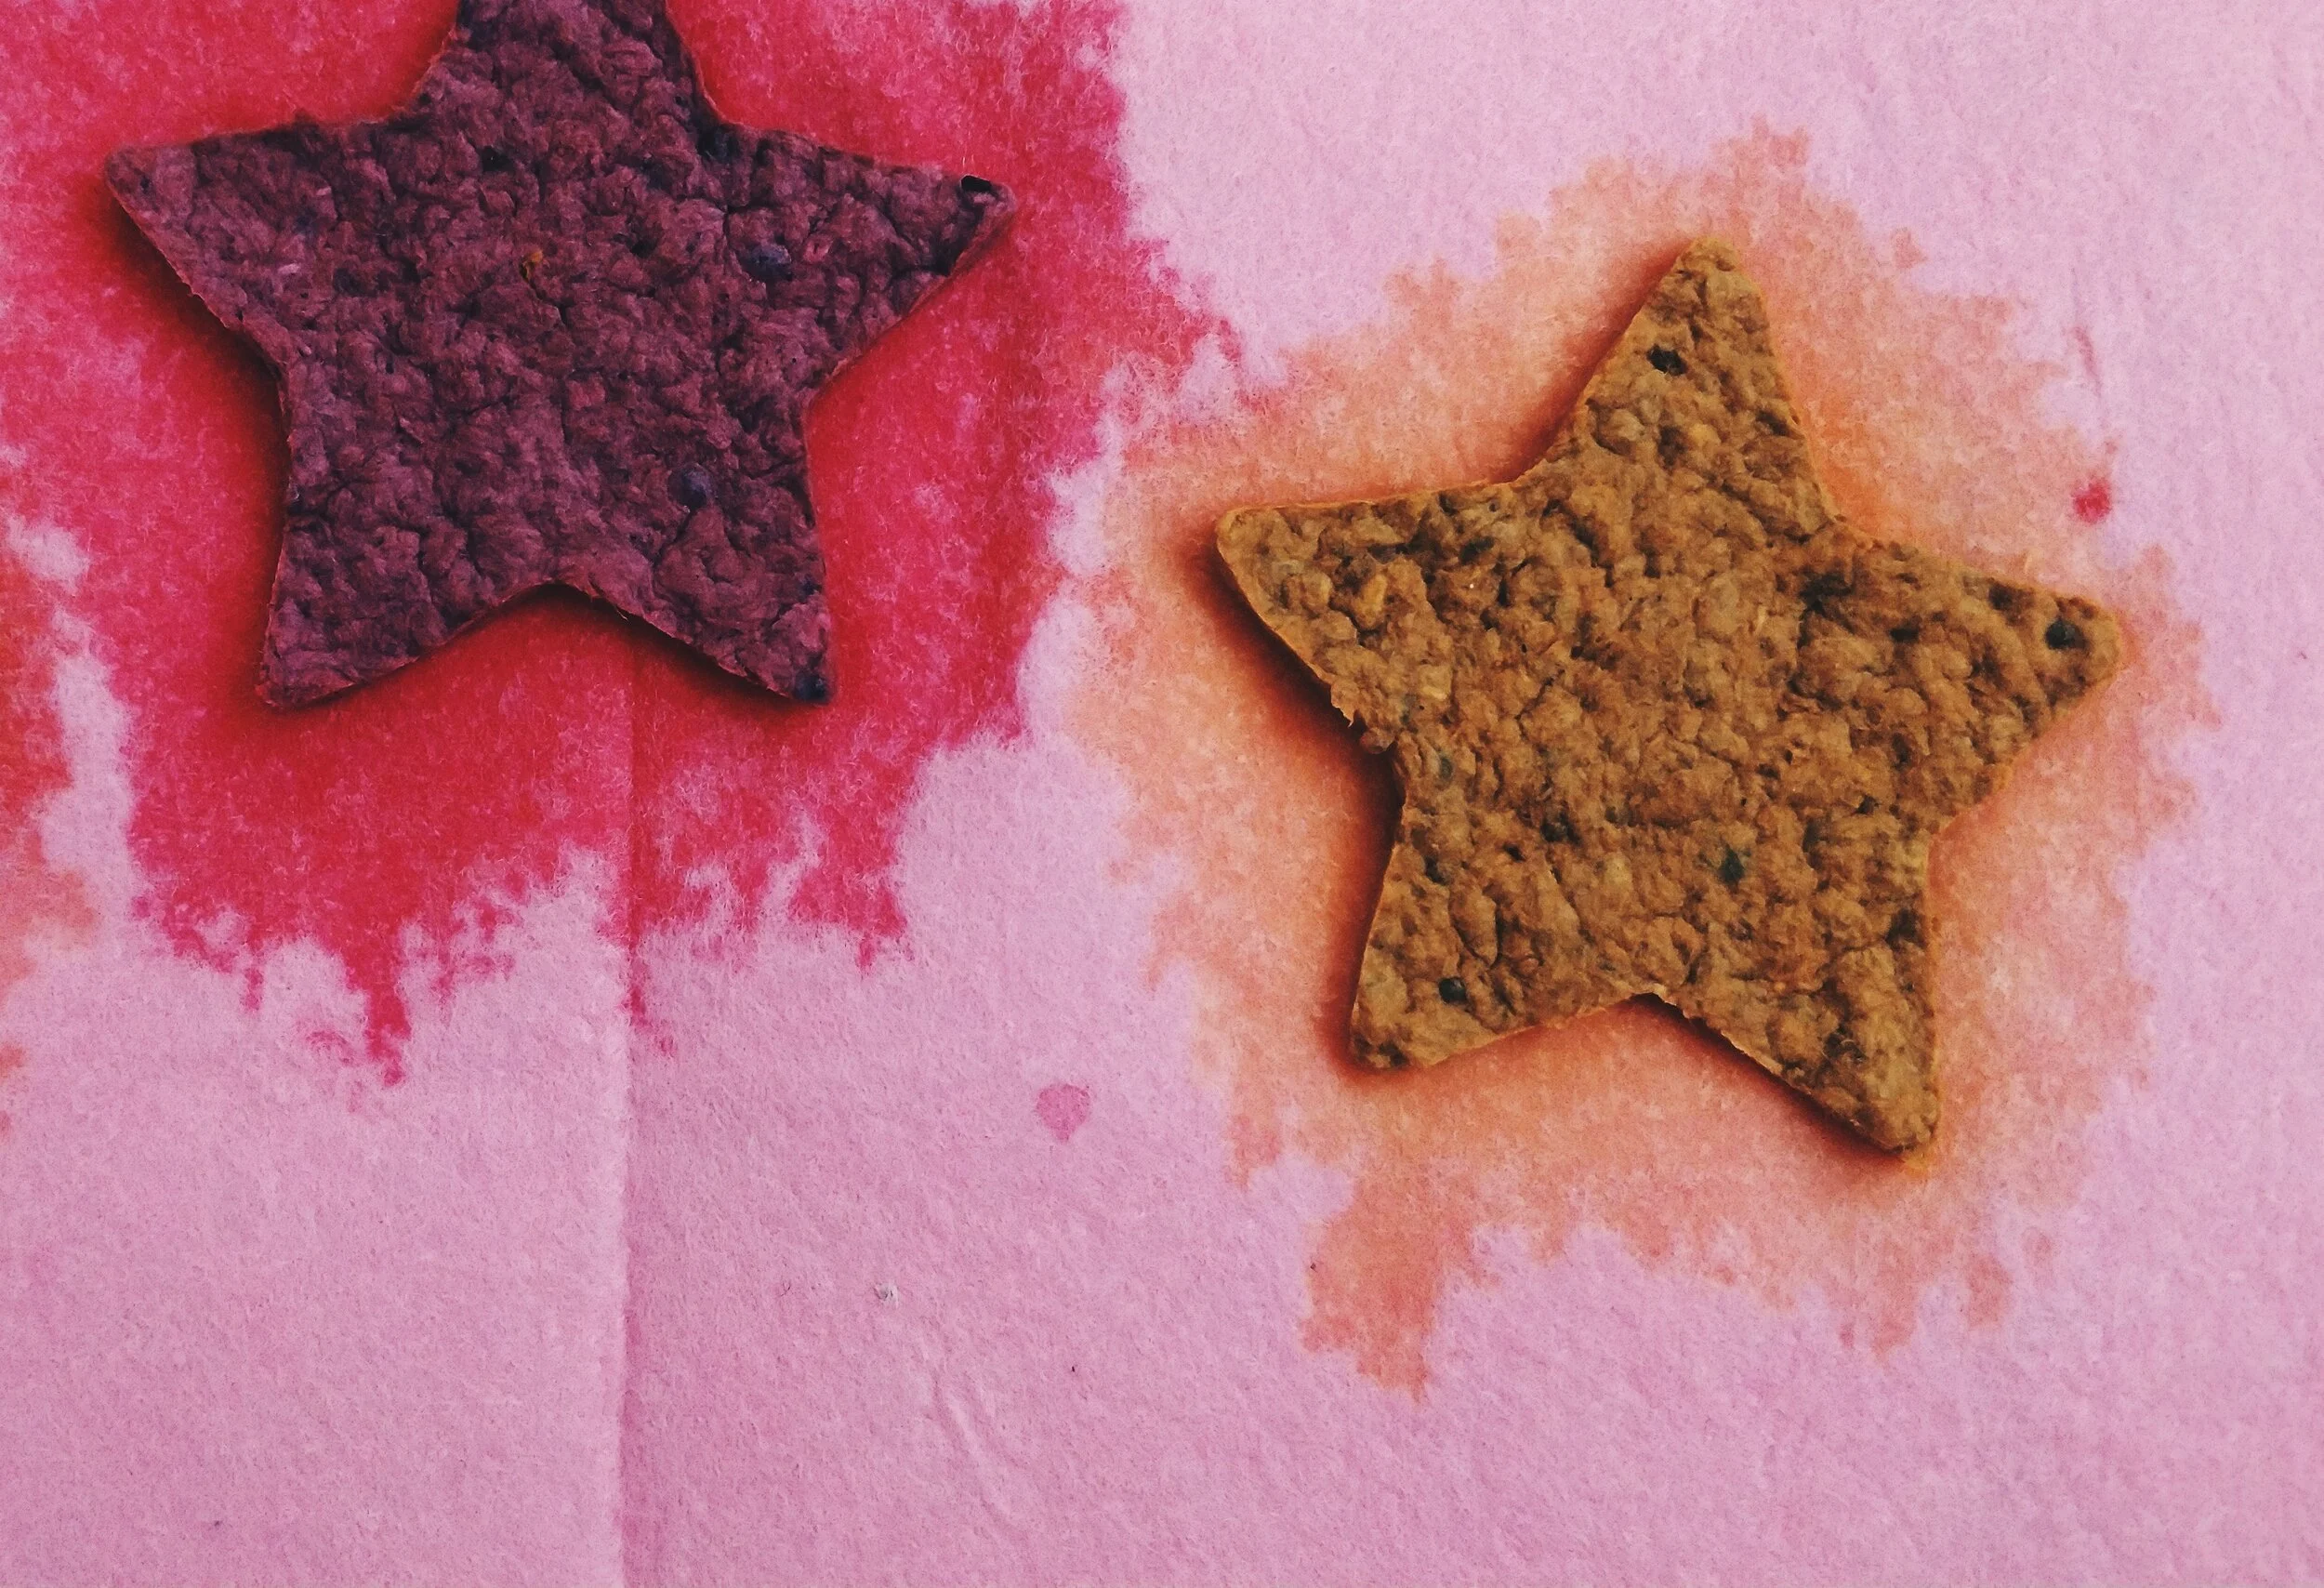
Add food coloring or turmeric and mix it well.


Add seeds and gently mix it in.
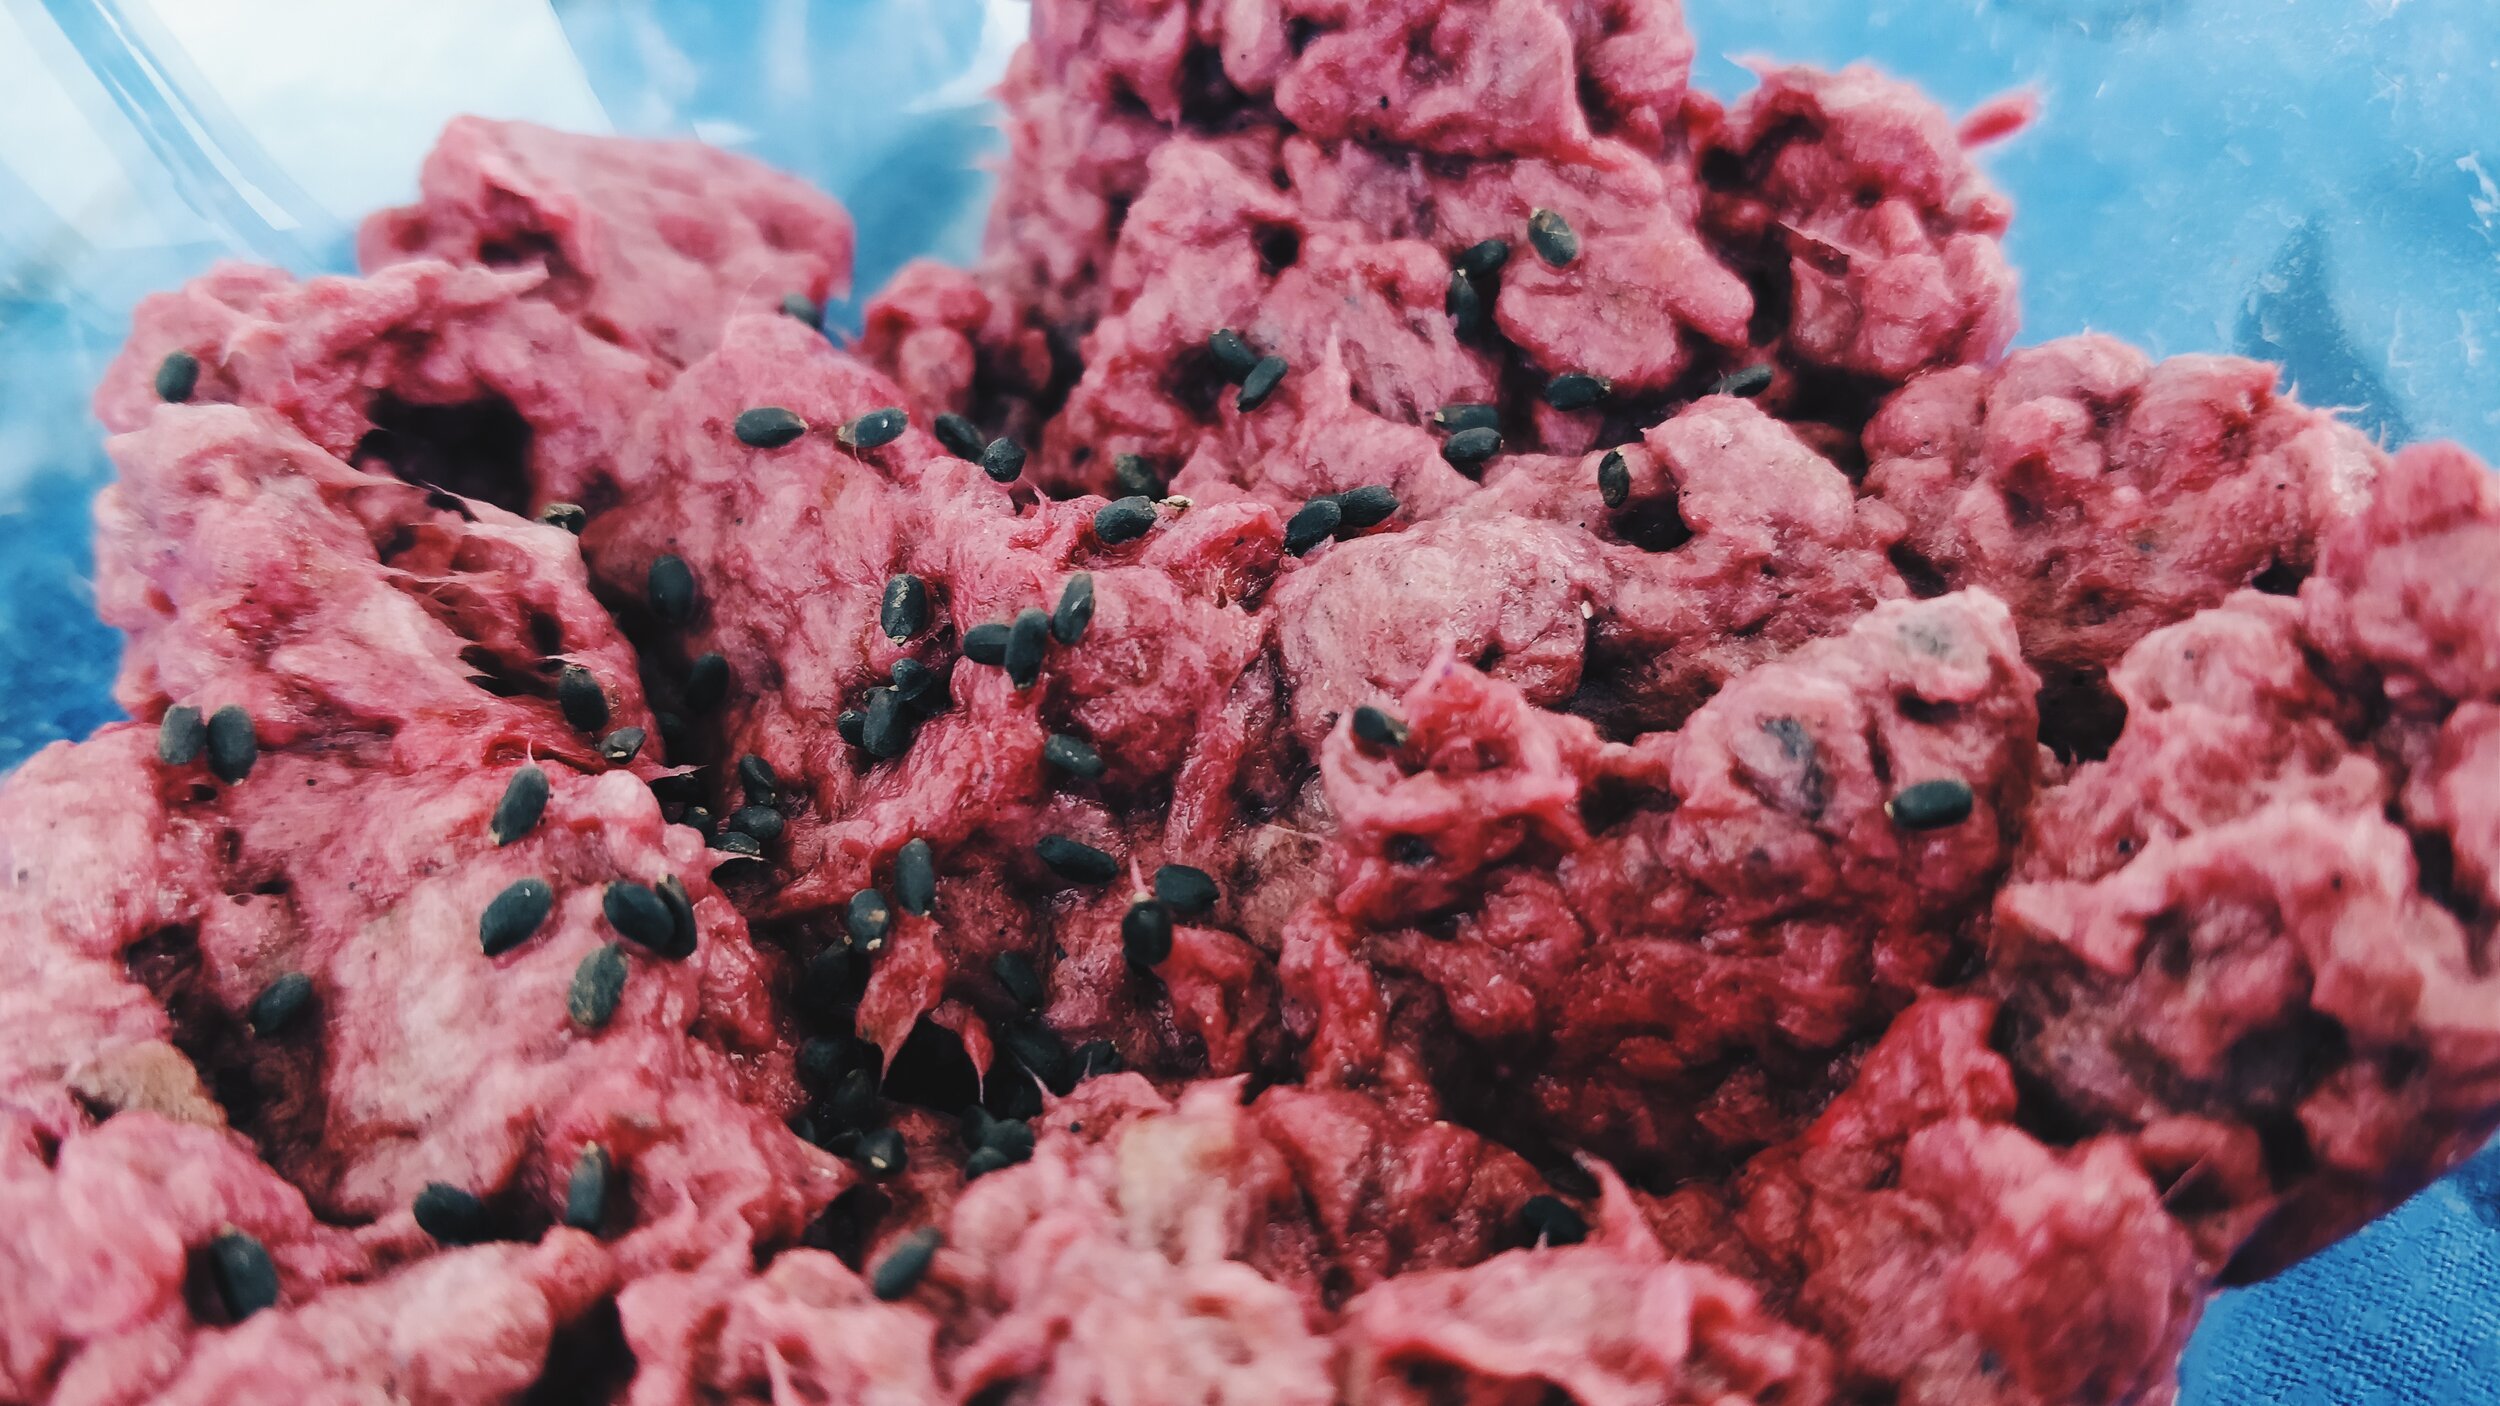


Fill the cookie cutter with a seed pulp mixture, about 4-5 mm thick and press to get the access water our Make sure you place a towel or felt cloth under the cookie cutter.
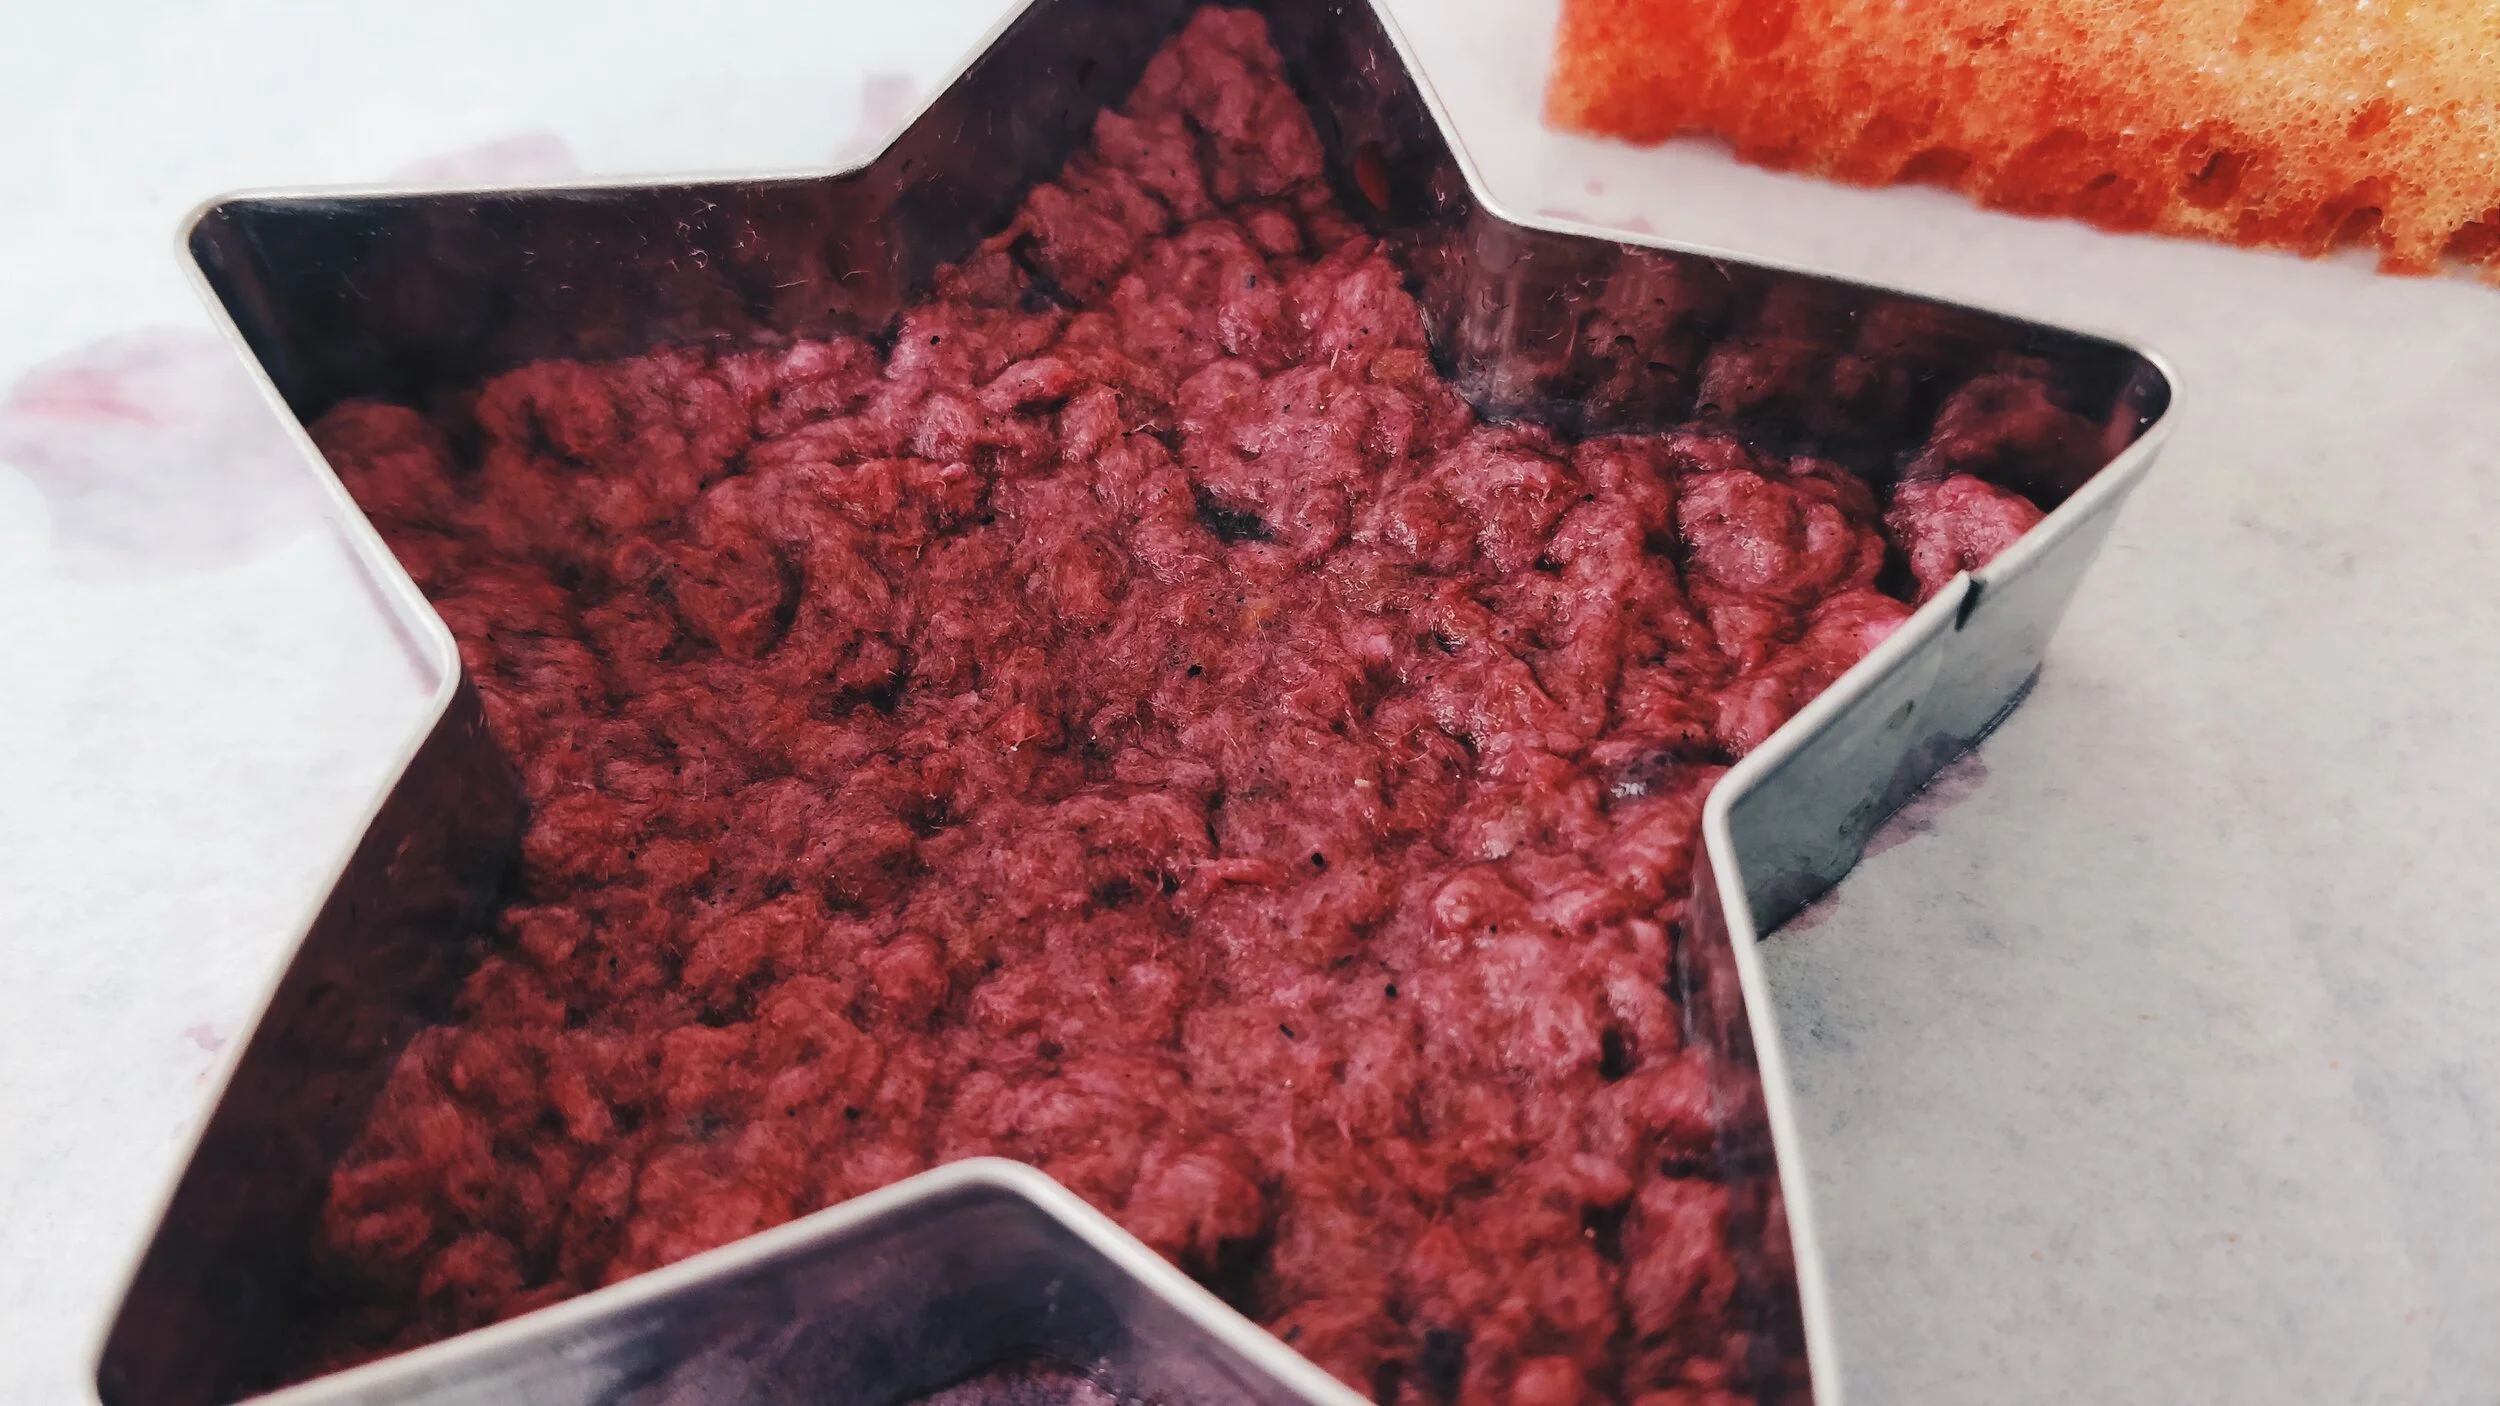

Remove the cookie cutter and let your paper to dry for a day. If placed on the sun, 5-6 hours should be enough.
Option 2 – Using DIY screen
As described in option 1 - shred the paper into small pieces and soak it in warm water for about an hour until the paper is mushy. When saturated with water blend until it reaches a thick, pulpy consistency. Add food coloring if desired and mix it well.
Pour your pulp it into a bigger plastic bin and add more water. Now add your seeds and dry flowers or leaves.

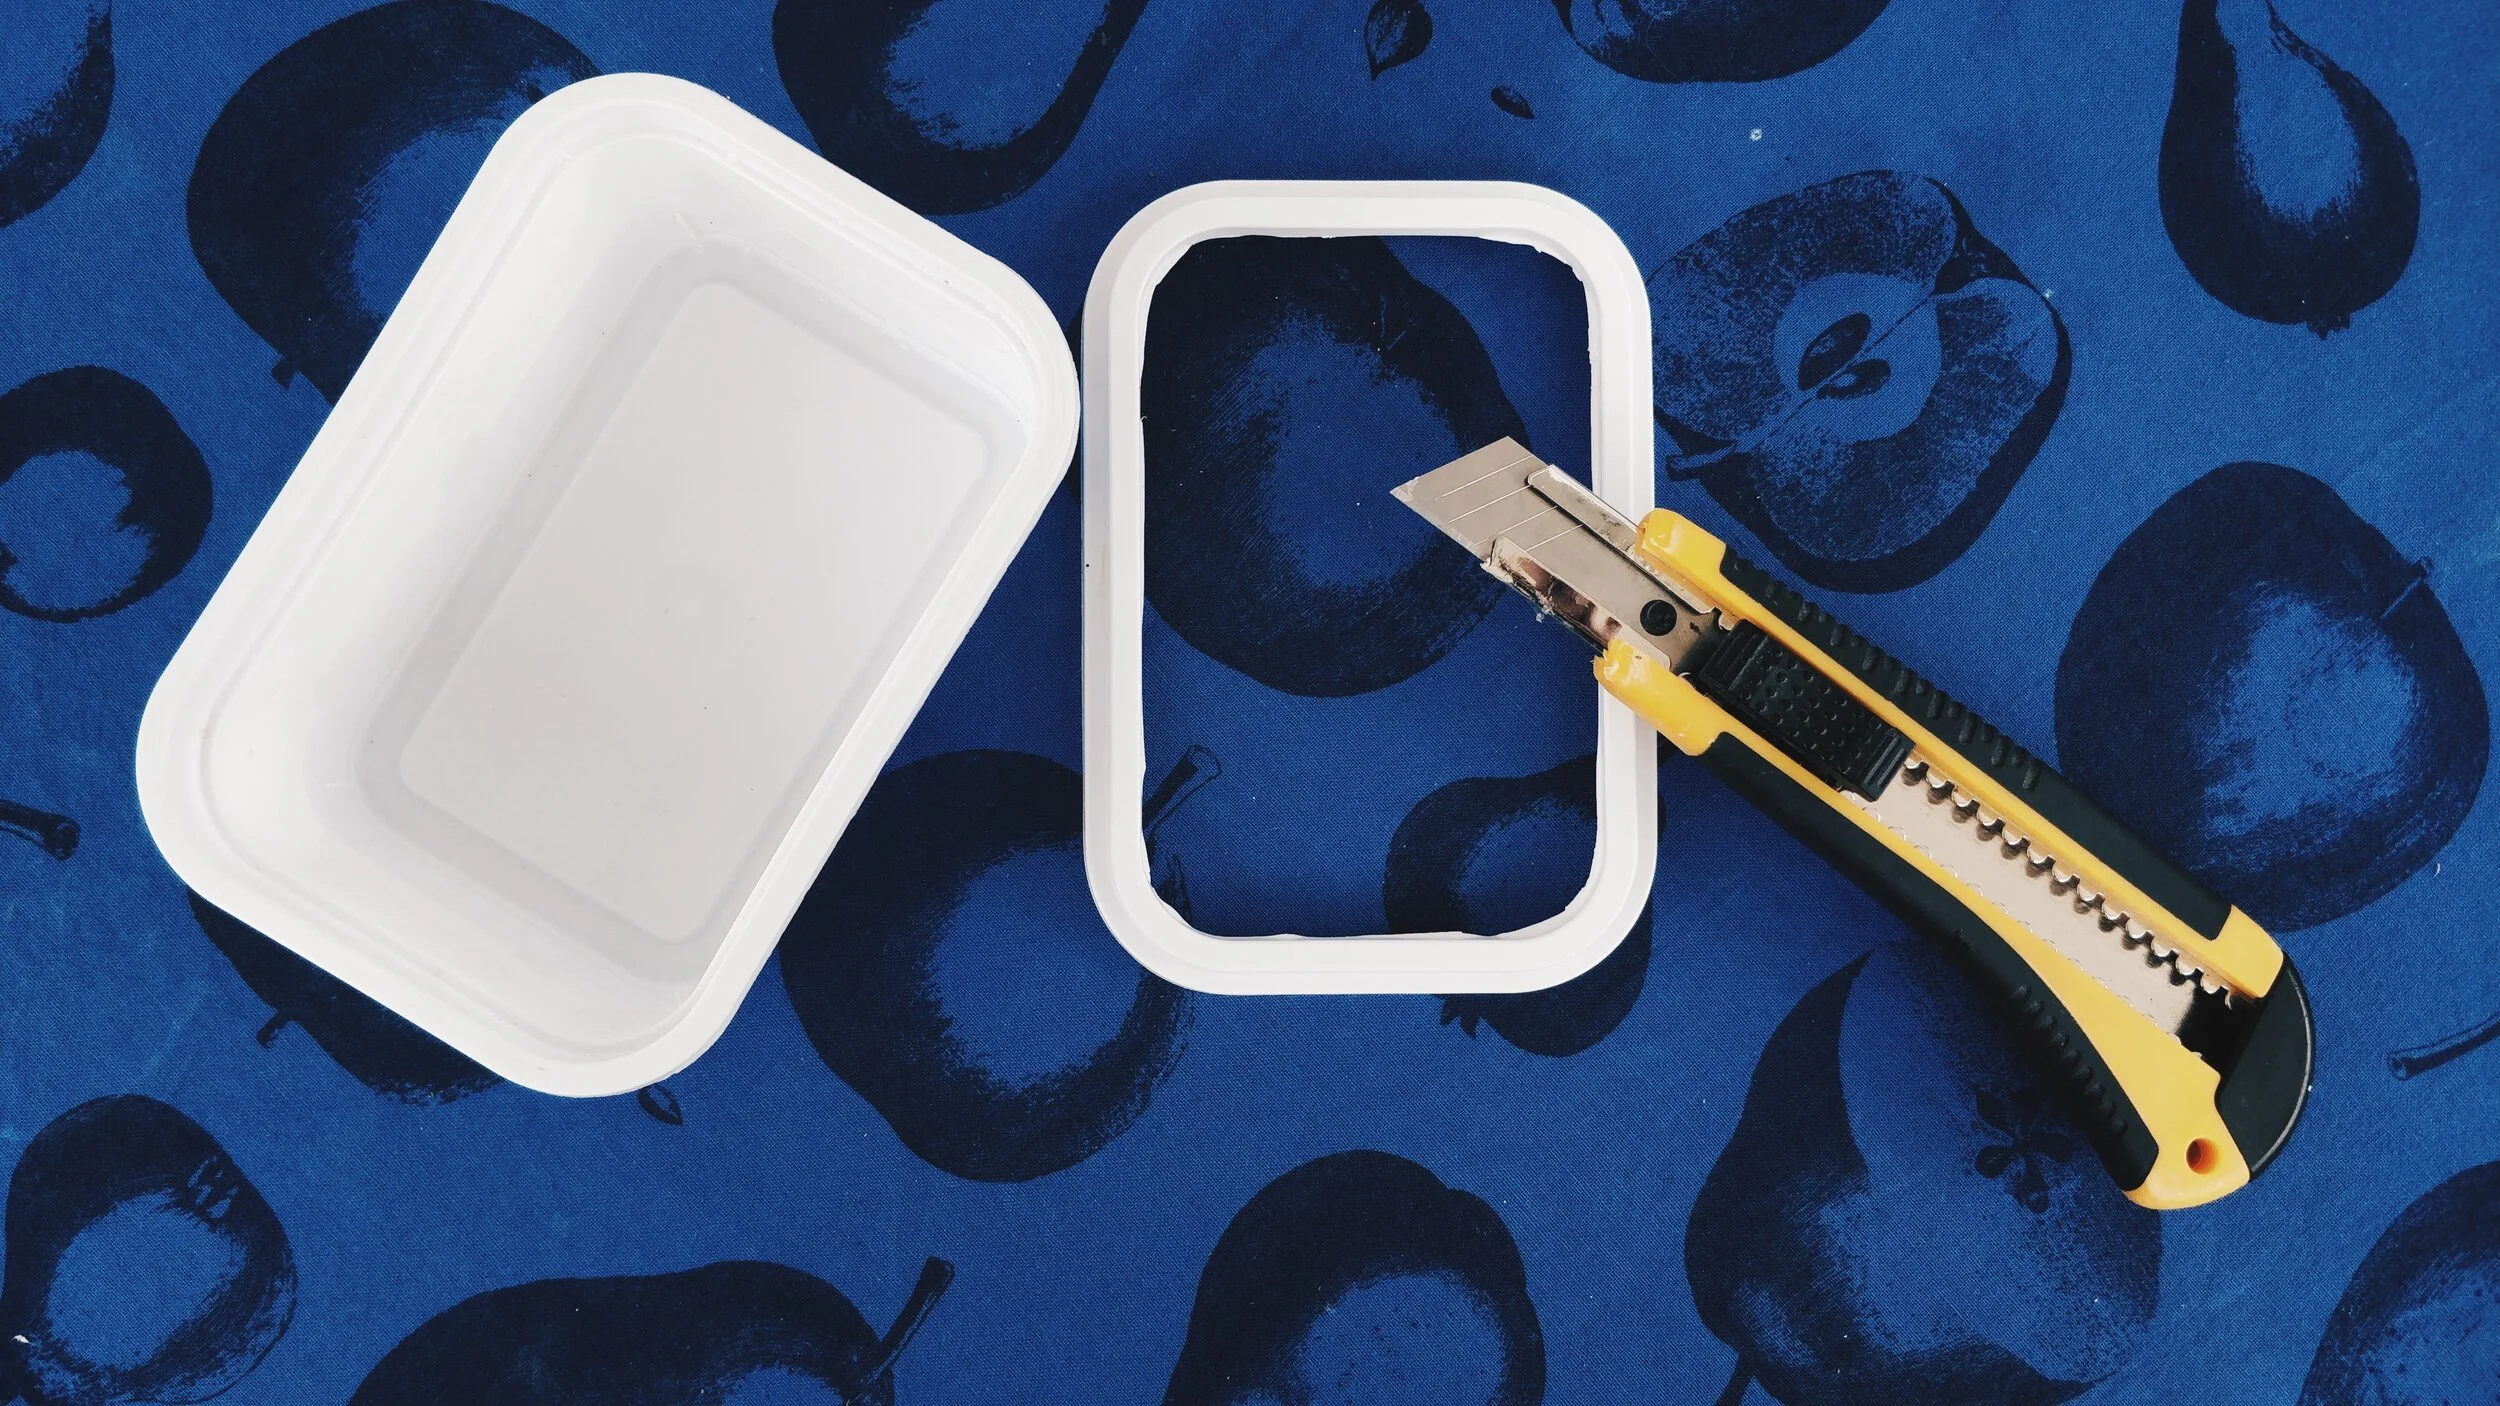
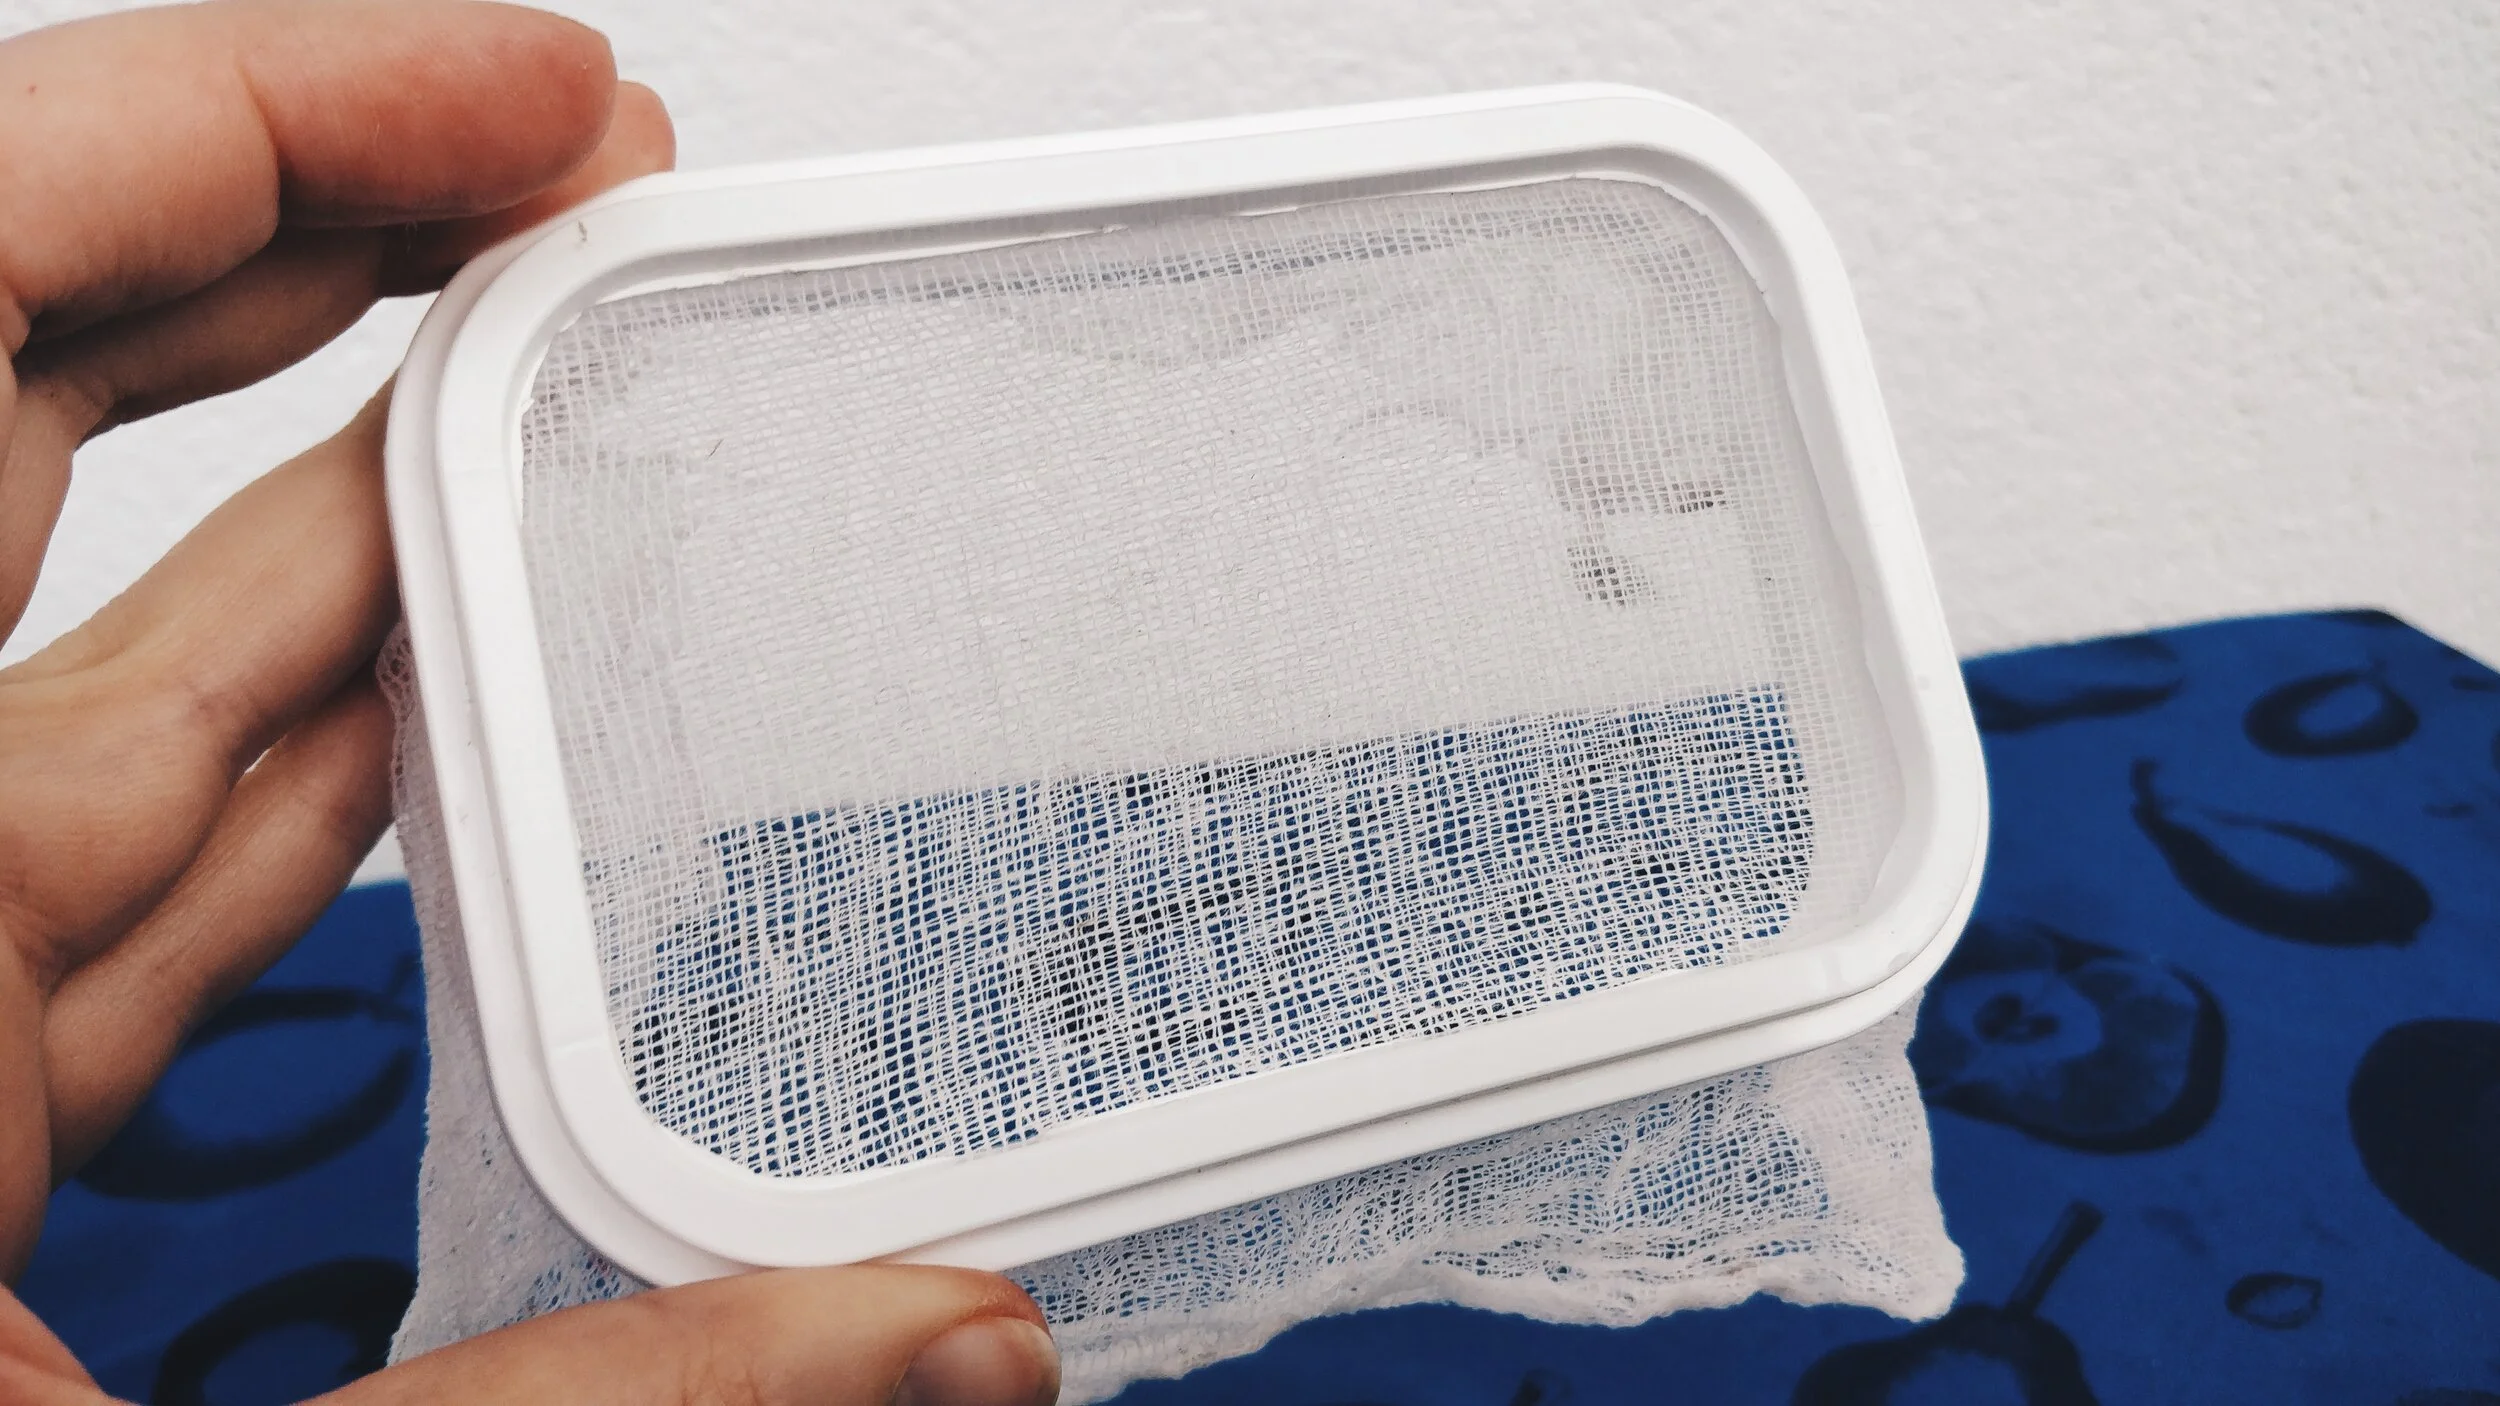
Prepare your DIY screen by cutting out cheese container lid and a box. Place cheesecloth or any other thin cloth between the lid and a box and close it. Make sure that cloth is stretched and firm as it will hold the wet pulp mixture.


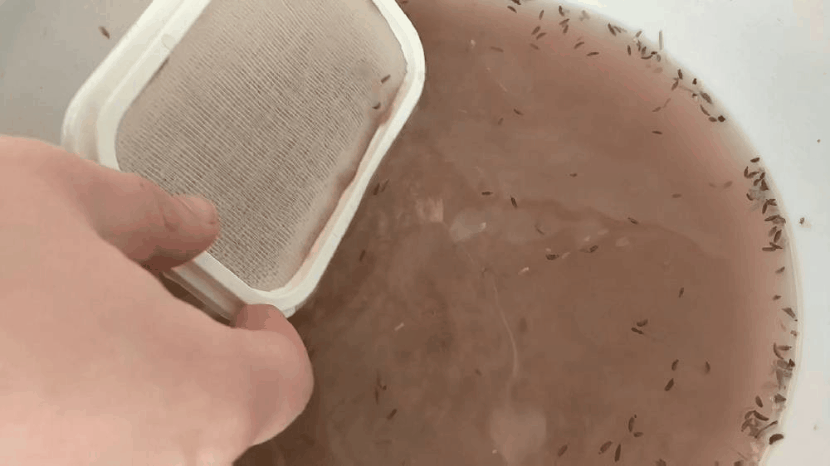
Dip the screen into your paper pulp mixture. Slowly lift it making sure the entire cloth is covered with a pulp.


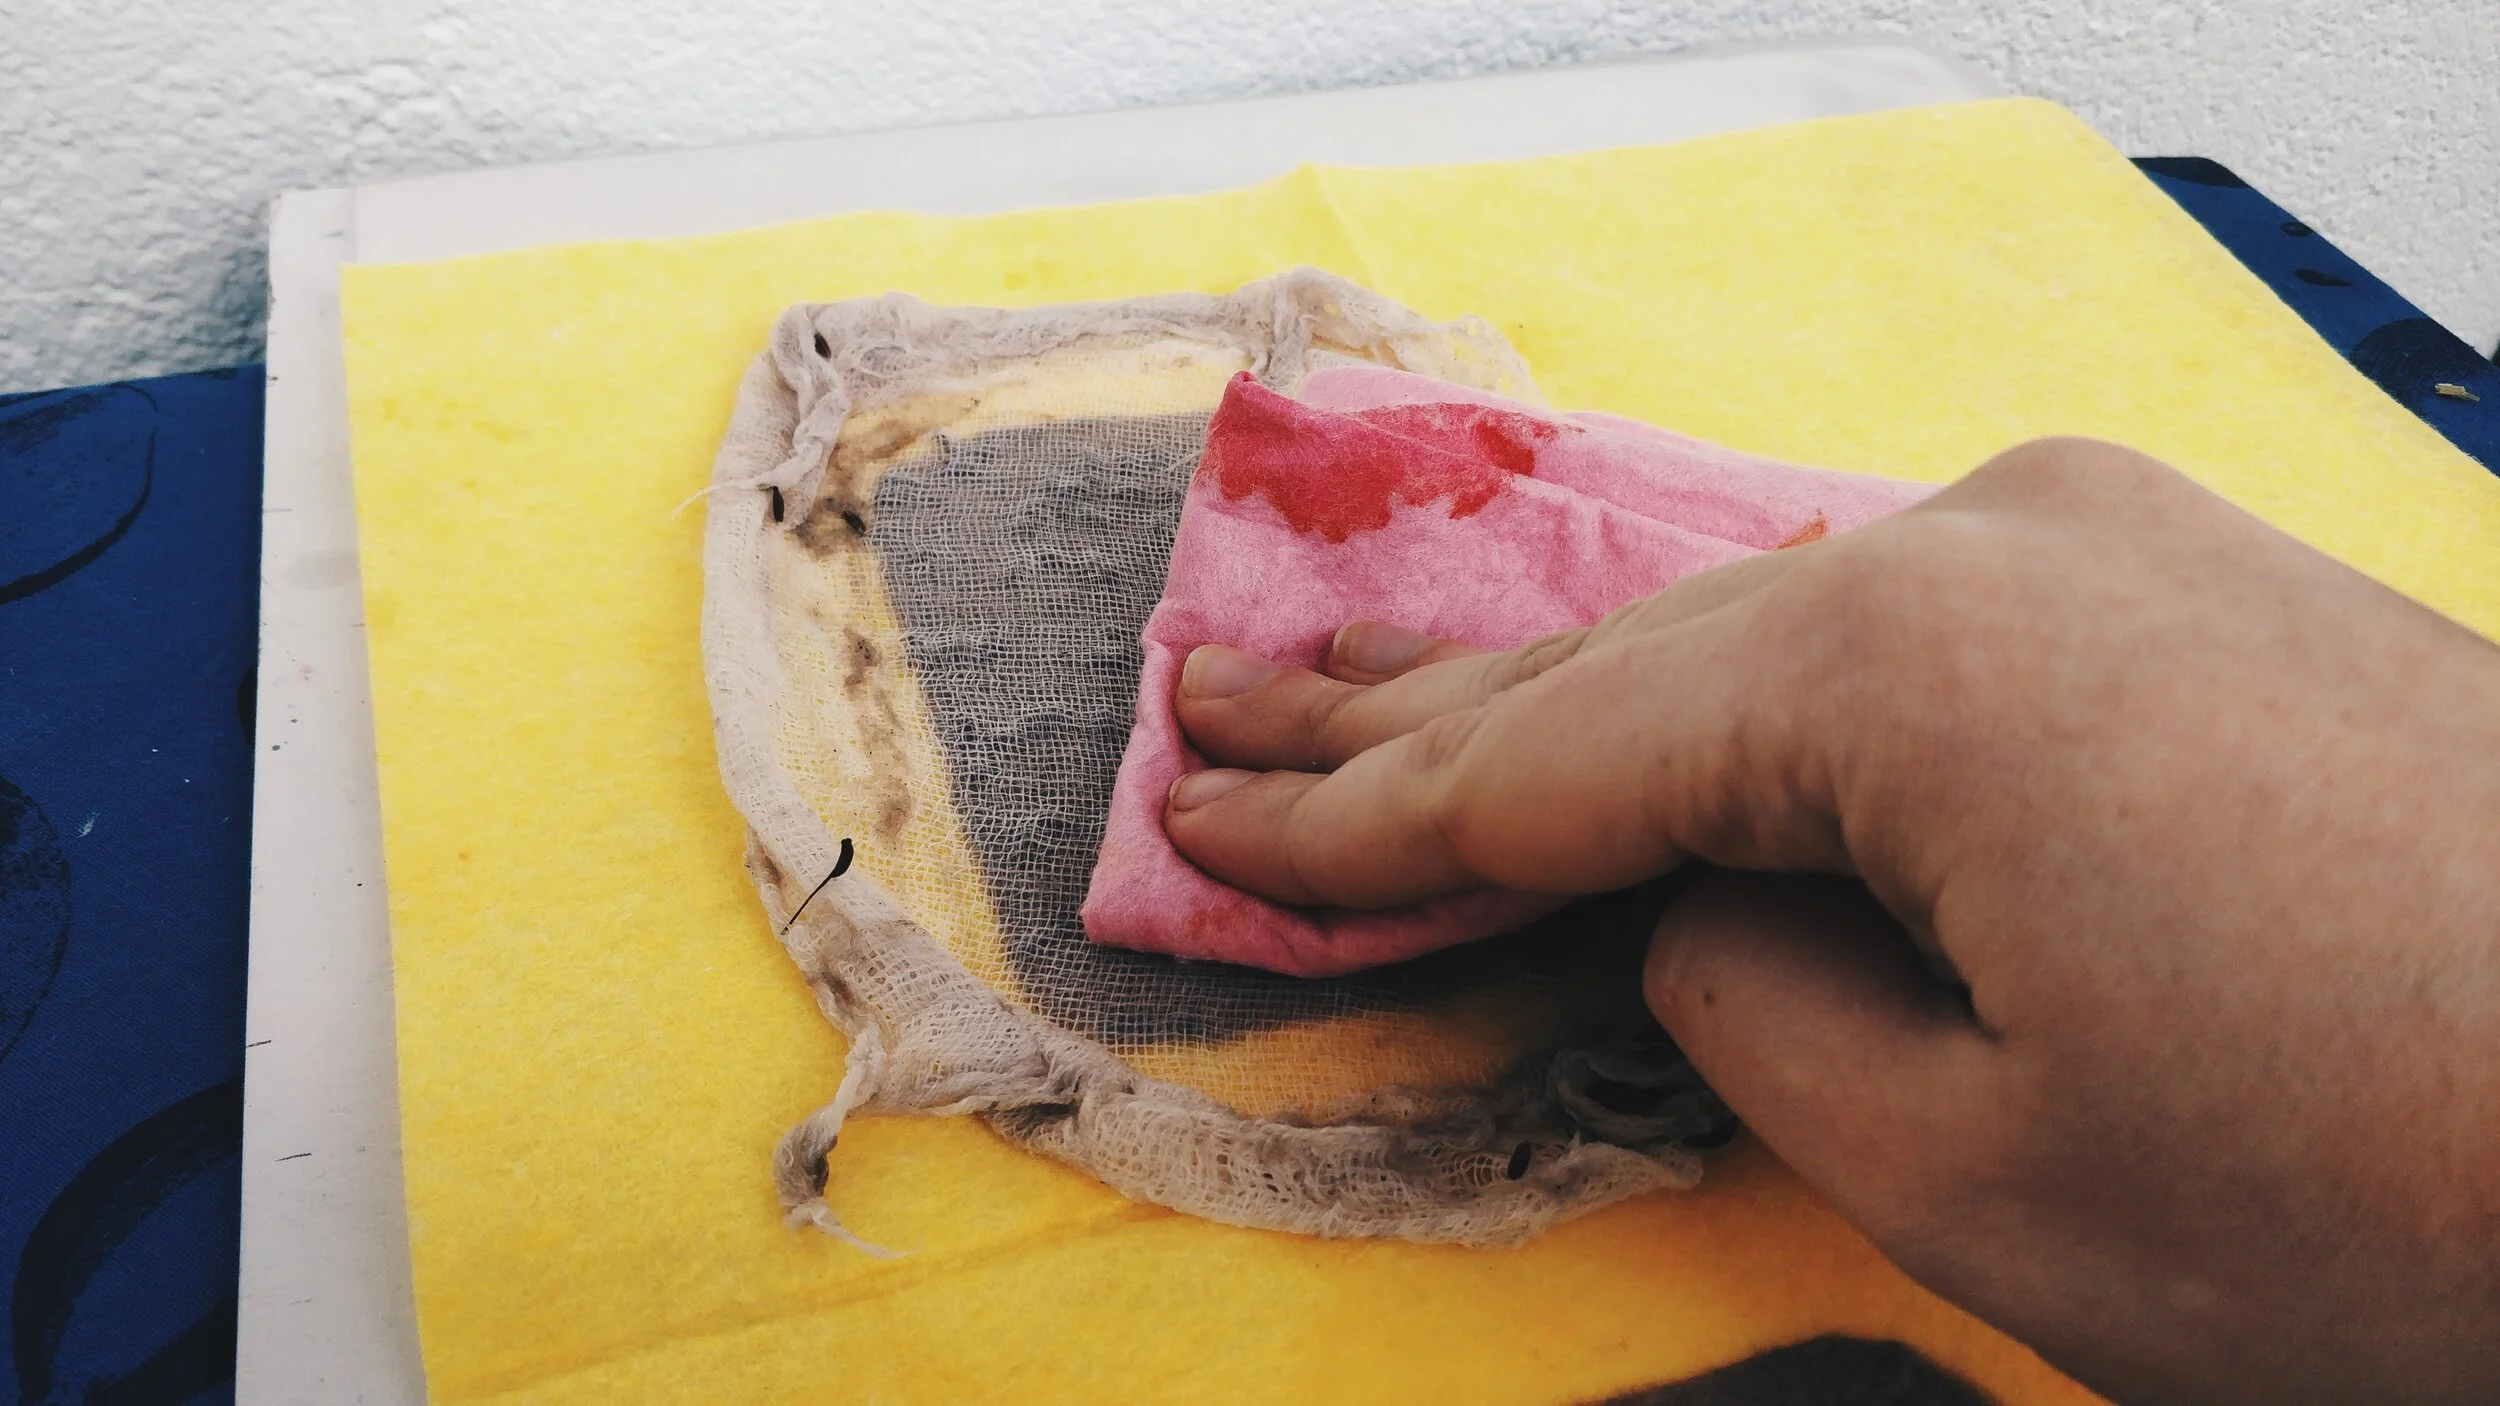
Set a side to drain for a few seconds. Lift the lid part and place cloth on a towel or felt pulp side to the bottom.
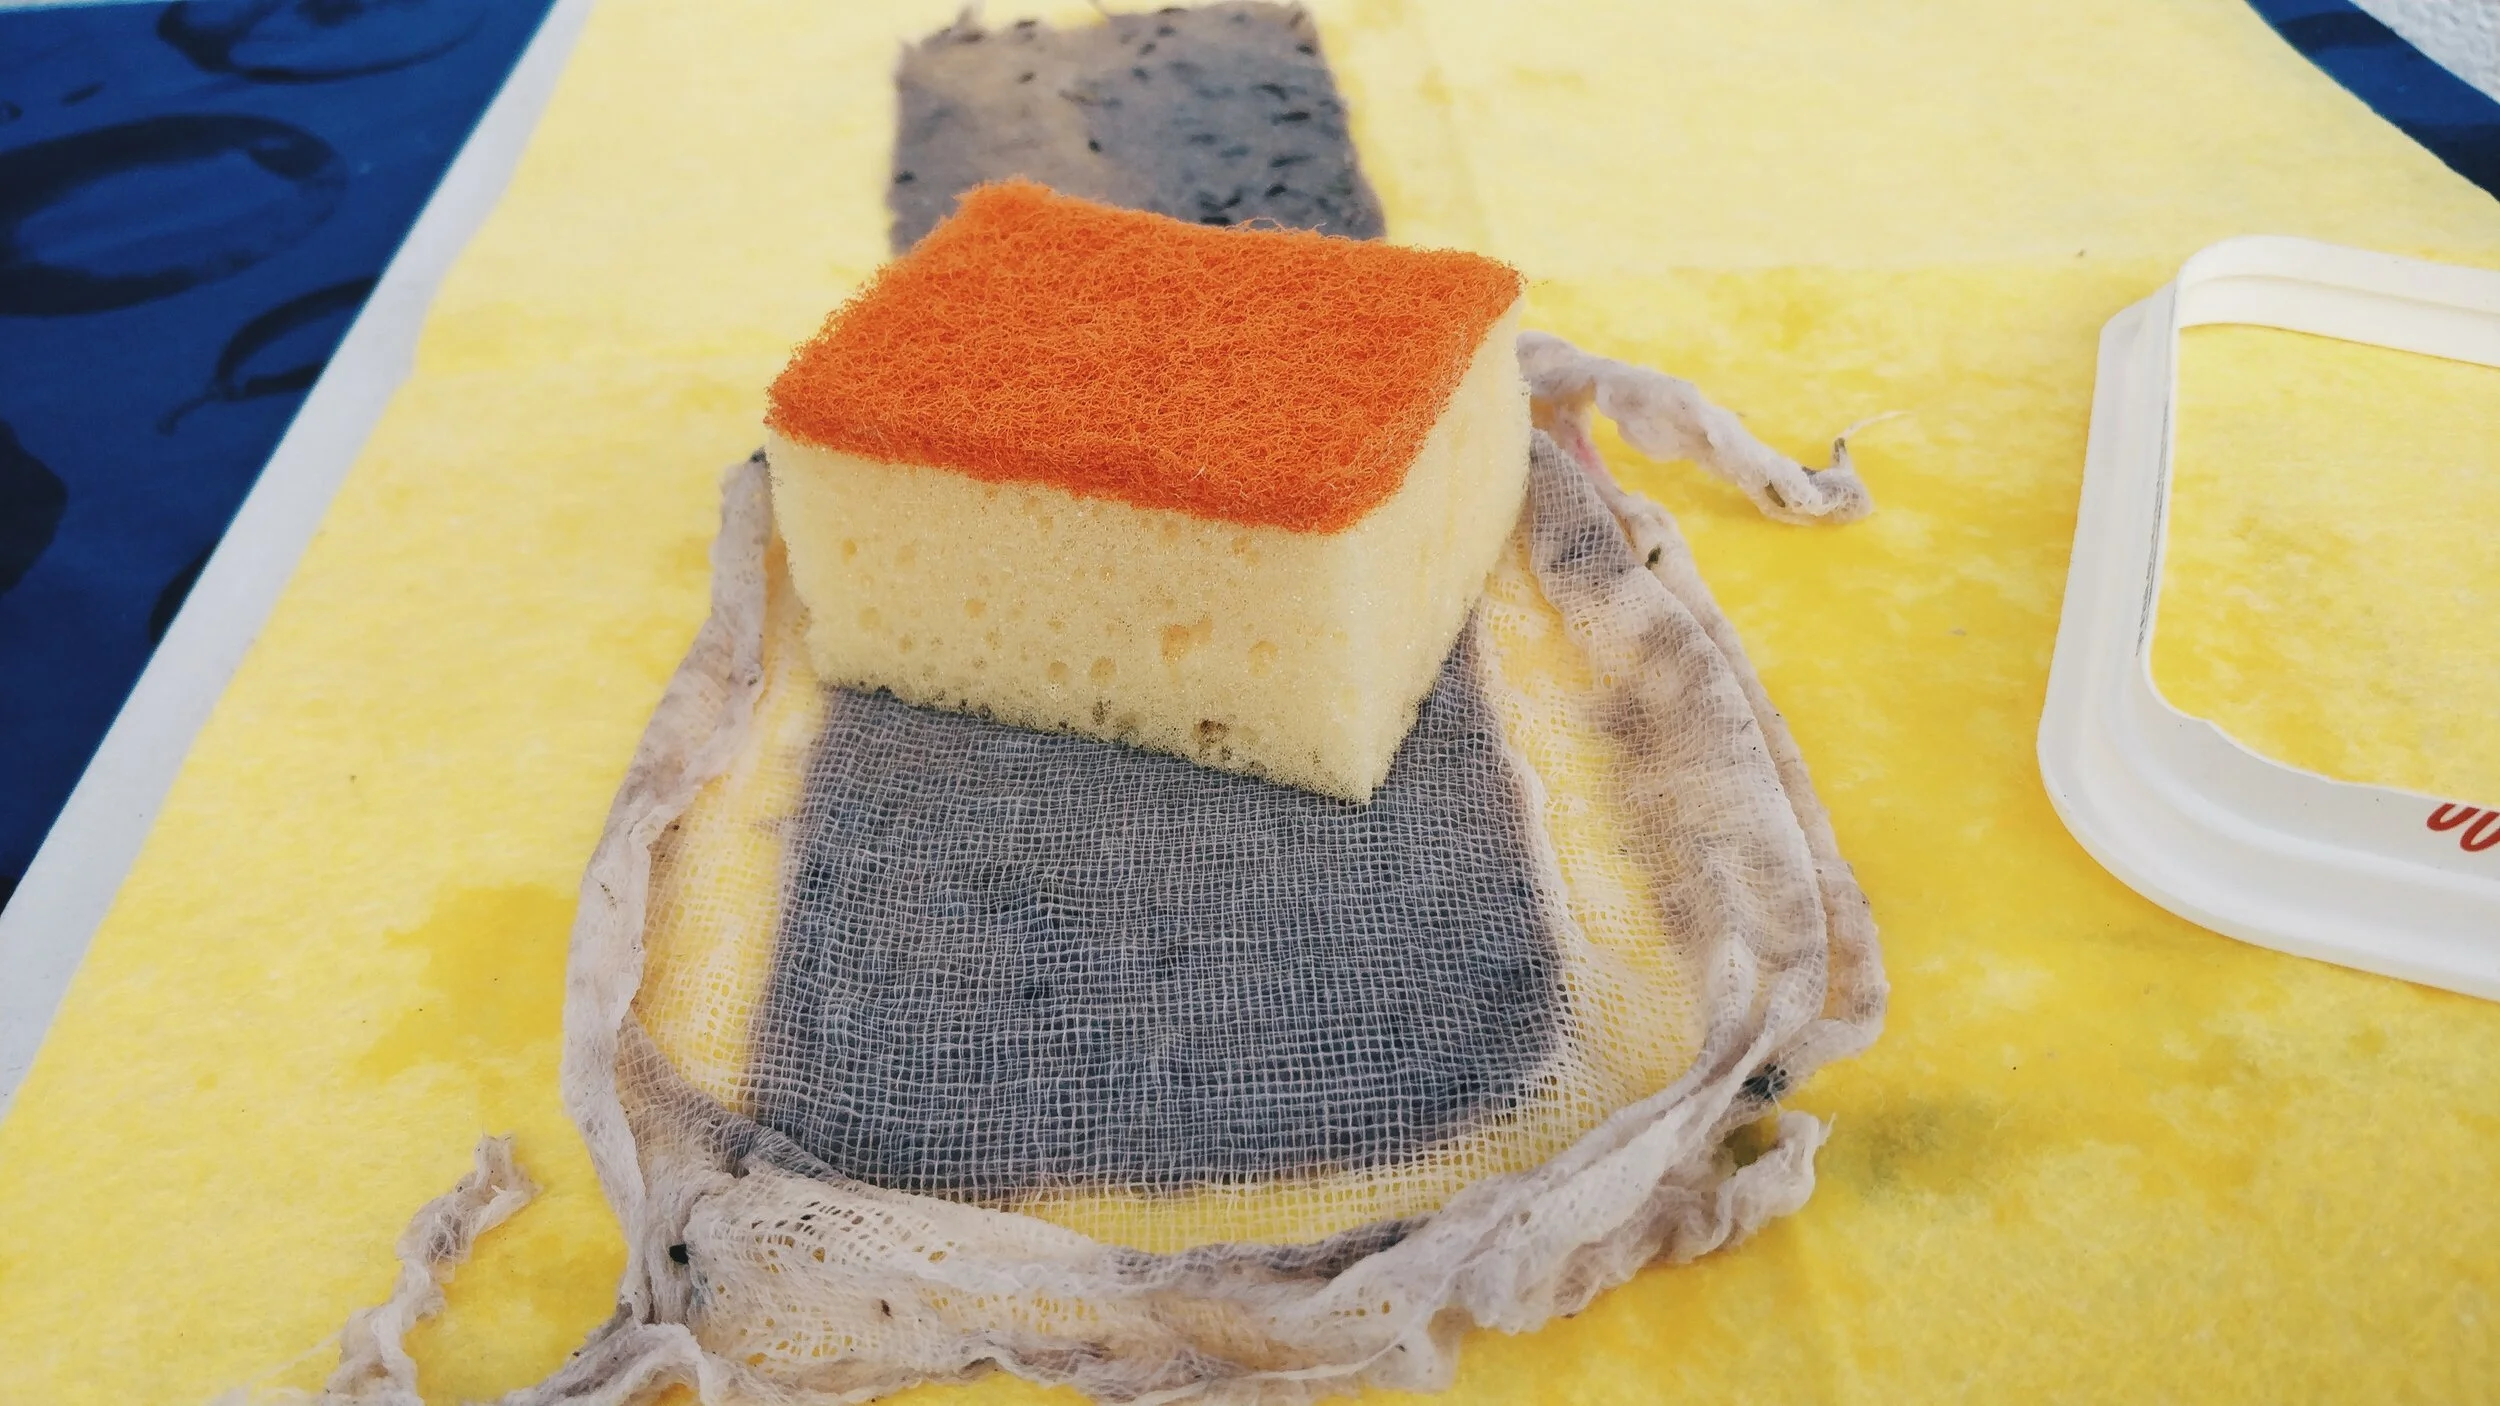
Using sponge press mildly to get the access water out. You might need to do it a couple of times. Make sure you squeeze access water out of your sponge as well.
Gently lift the cloth, wash it and again place between the cheese container lid and a box part to continue making more paper.

Set your wet paper to dry. It might take from 3-4 hour to a day, depending how thick is your paper.

Once fully dry, use it for gift tags, table settings, note cards, or whatever else you’d like!


ABOUT AUTHOR
Olha Harbovska is America House Communications Manager. She is Future Leaders Exchange program alumna and received MA in Translation Studies and Contrastive Linguistics from Ivan Franko National University in Lviv.